
Look, I get it. You want the absolute best for your furry family member, but sometimes those fancy toppers in the pet store cost a fortune and you have no idea what preservatives they snuck in there. That’s why I started fiddling around in my kitchen. After years of digging into pet nutrition—trust me, I’ve tried every fad out there—I needed something simple, shelf-stable, and something I could truly control.
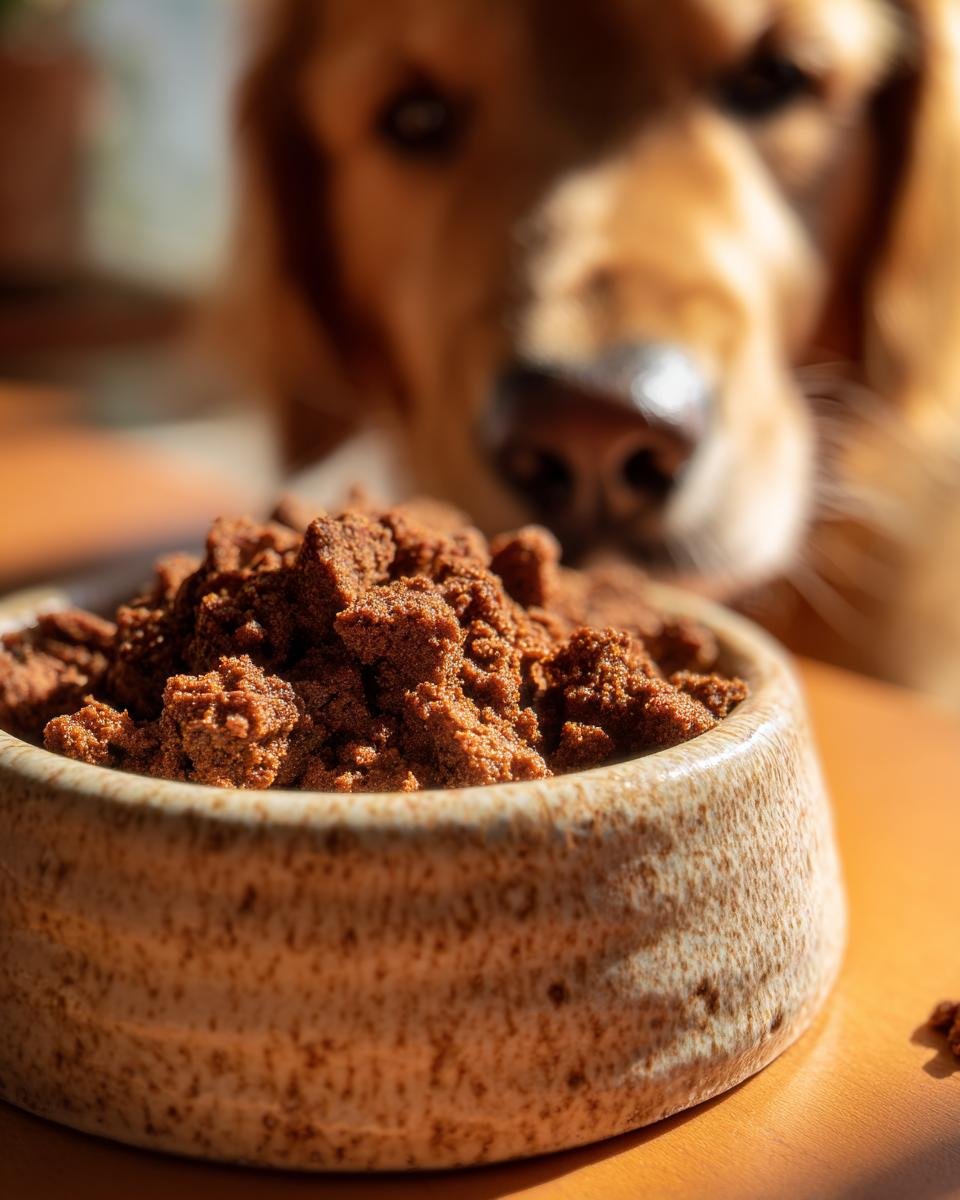
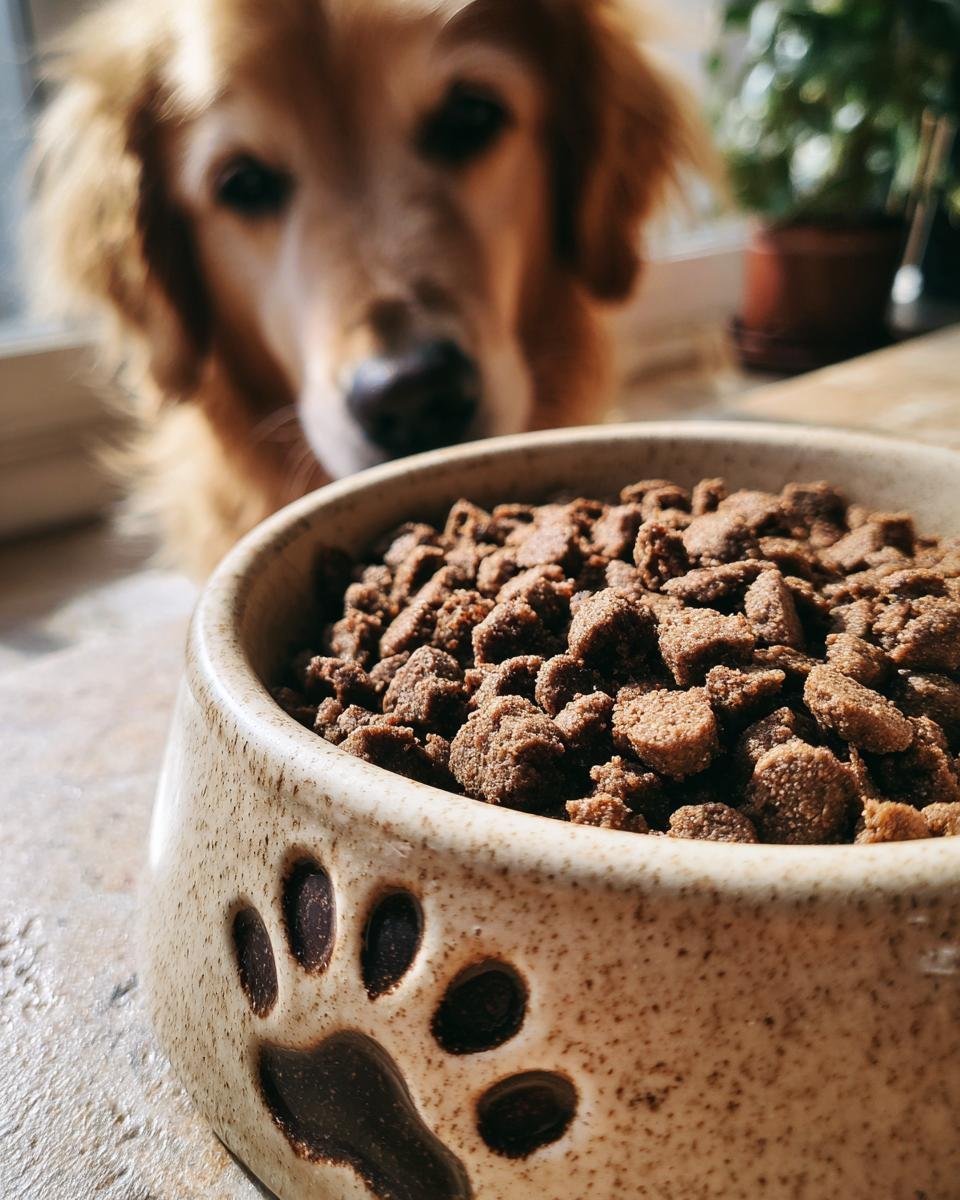
This recipe changed everything for snack time. I’m talking about making your own Homemade Oven Baked Turkey and Carrot Kibble Crumbs right on your own cookie sheet. They are super dry, packed with good stuff, and last for weeks! It’s my go-to strategy for boosting boring meals, and honestly, my pup goes wild for them.

If you’re looking for real, simple food you trust, you’ve come to the right place. You can check out my background insights on what makes quality pet food over at this dedicated page, but for now, let’s get these crumbs baking!
Why This Homemade Oven Baked Turkey and Carrot Kibble Crumbs Recipe Works
This recipe just makes sense for busy people who still care about quality. You aren’t dealing with chopping tiny bits or complicated cooking methods. It’s mostly hands-off time while it bakes, which I love! Plus, the final texture is amazing—dry enough to store easily but still exciting for your pet.
Here’s why I keep coming back to these Homemade Oven Baked Turkey and Carrot Kibble Crumbs:
- It’s incredibly lean, focusing mostly on protein and real veggies.
- The low, slow baking process naturally preserves the food without any weird additives.
- You get a huge batch of highly palatable food booster for very little effort—check out more of my easy treat recipes over here!
Quick Preparation for Your Homemade Oven Baked Turkey and Carrot Kibble Crumbs
Honestly, the prep is a joke—in the best way possible! You only spend about ten minutes actually working. Just toss the turkey, carrots, water, and oil into a bowl and mix it around a tiny bit. Make sure you spread it thin on the baking sheet so we can move quickly into the oven part. That’s it for the active work needed for your Homemade Oven Baked Turkey and Carrot Kibble Crumbs!
Achieving the Perfect Dry Texture
The secret here is the two-stage baking. You can’t just blast it on high heat, or you’ll end up with meaty, damp patties! The first bake sets everything firmly in place. Then, after you break it up, the second, slower bake draws out every last bit of moisture. This intense drying process is what makes the crumbs truly shelf-stable. It’s the difference between a quick snack and a reliable pantry staple.
Gathering Ingredients for Homemade Oven Baked Turkey and Carrot Kibble Crumbs
Okay, listen up, because the ingredients list here is super short, which means quality really matters! We aren’t hiding flavor behind a hundred spices. You only need four main things, so make sure they are good.
For a batch that yields about two cups of topping, grab exactly: one pound of ground turkey, one cup of carrots that you’ve grated—and I mean freshly grated, please!—a quarter cup of plain water, and just one simple tablespoon of olive oil. That’s the whole shopping list!
Ingredient Notes and Substitution Guidance
When it comes to the turkey, I always lean toward 93% lean or higher. Since we are baking this fat low and slow, you don’t want a ton of grease pooling up on your sheet pan. That extra fat can actually make it harder to dry out properly, and we want crumbs, not tiny, greasy turkey pebbles!
For the carrots, don’t even think about those pre-shredded bags if you can help it. Hand-grating gives you a slightly coarser texture that holds up better during the long bake. The water combined with the fresh carrot moisture helps everything bind just enough to spread it thinly before it dries into perfect little bits.
Step-by-Step Instructions for Homemade Oven Baked Turkey and Carrot Kibble Crumbs
Alright, let’s get baking! This part is super easy, but you do have to pay attention to the oven times. If you miss a step, you might end up with something a little too soft, and we definitely don’t want that. Grab your parchment paper and let’s make some fantastic Homemade Oven Baked Turkey and Carrot Kibble Crumbs!
First things first: Preheat your oven to a nice gentle 300°F (150°C). Remember, low and slow is the key to drying these out completely. Make sure you line a sturdy baking sheet with that parchment paper—this stops sticking right from the start.
Mixing the Turkey and Carrot Base
In your biggest bowl, combine everything we gathered: the ground turkey, all those lovely grated carrots, the little bit of water, and that tablespoon of olive oil. Now, here’s where you can mess up: don’t just beat this like it’s cake batter! You only want to mix this until everything is *just combined*. If you overwork the turkey, it gets tough and springy before it even hits the heat. We are aiming for a loose, uniform mixture.
Once it’s mixed gently, spread that whole lot out onto your lined baking sheet. Try really hard to keep it thin—aim for about a quarter of an inch thick all over. A spatula helps spread this out evenly. This thin layer is what ensures even cooking for your turkey carrot blend!
The Dual-Stage Baking Process for Homemade Oven Baked Turkey and Carrot Kibble Crumbs
Time for the first bake! Slide that tray into your preheated oven and let it go for exactly 45 minutes. This sets the meat so it doesn’t just fall apart when you try to move it.
When the timer buzzes, pull the sheet out. Now, take a sturdy fork or a spatula and break that cooked sheet into smaller, manageable pieces right there on the pan. They’ll still be a little pliable, that’s fine! Put the pieces back into the oven for the second, crucial drying phase. This second round takes anywhere from 30 to 45 minutes, but you MUST stir them every 15 minutes. You are watching for total dryness here. Once they snap when you try to bend them, they are done! Let them cool completely before you store them away, proud of your perfect Homemade Oven Baked Turkey and Carrot Kibble Crumbs.
Essential Equipment for Making Your Kibble Crumbs
You won’t need any fancy gadgets for this recipe, which is one of the things I love most about it! It’s kitchen staples only. Don’t let complicated equipment scare you away from making high-quality toppers.
Here is the short and sweet list of tools you’ll want handy before you start mixing that turkey and carrot base:
- A really good, sturdy mixing bowl. You need room to smash that turkey around a bit!
- A standard baking sheet. Doesn’t have to be anything special, just big enough so you can spread the mixture thinly across it.
- Parchment paper that fits your sheet. Seriously, do not skip this. It makes cleanup a breeze and ensures you get those nice, clean edges.
- A reliable fork or spatula. You need something strong enough to break up the cooked turkey sheet into those lovely little crumb pieces later on.
That’s truly it! No stand mixer required, no special dehydrator—just your normal oven and a few basic implements. Keep it functional, keep it simple!
Tips for Perfect Homemade Oven Baked Turkey and Carrot Kibble Crumbs
I’ve made this recipe more times than I can count, and I have a few little tricks up my sleeve to make sure you nail that perfect, dry crumb texture every single time. Nobody wants mushy topping, right?
The absolute number one thing you have to watch is that second baking stage. When you take the sheet out the first time, it looks solid, but it’s still holding onto steam. During that second bake, your oven temperature is low—300°F is gentle—so you need that constant stirring!
Don’t walk away during the last 30 minutes! If you see any edges getting dark brown too quickly, carefully pull that section out and break it up smaller before returning it. Burning the turkey will taste awful, and we just want golden-brown drying, not black char.
If you’re making these Homemade Oven Baked Turkey and Carrot Kibble Crumbs for a tiny pup or maybe a finicky cat who won’t eat big chunks, here’s what you do. Let the crumbs cool *completely* after they come out of the oven—we need them brittle! Then, you can pulse them in a small food processor. Not until it’s powder, but until you get a nice, fine texture that blends effortlessly into their regular food. You can see how I handled texture differently in my [turkey and sweet pea jerky] recipe too, which relies on a totally different drying method!
Also, remember that water you added? If you use really dry, almost ground-stuffed turkey, you might need just a tablespoon more water. But be cautious! Too much liquid means you’ll extend that second bake time significantly, and nobody has time for that when they are ready to see those perfect Homemade Oven Baked Turkey and Carrot Kibble Crumbs.
Storage and Shelf Life for Your Homemade Oven Baked Turkey and Carrot Kibble Crumbs
Okay, you’ve successfully dried out your turkey and carrots, and now you’ve got this amazing supply of healthy topping. The last thing we want is for all that hard work to go to waste because we stored them wrong! Moisture is the enemy here—it’s what turns these perfectly crisp crumbs back into something squishy, and we definitely don’t want to invite any trouble.
The rule for keeping your Homemade Oven Baked Turkey and Carrot Kibble Crumbs perfect is simple: airtight storage is non-negotiable. You need jars with tight-sealing lids or sturdy plastic containers that lock down completely. Keep them right there on your kitchen counter or in your pantry.
Trust me on this: as long as you let them cool down completely before you seal them up (and I mean *completely* cool, there shouldn’t even be a hint of warmth left), they will last beautifully at room temperature for up to two whole weeks. That gives you plenty of time to sprinkle them over meals!
If you find you love making these so much you end up with too much, or if your kitchen humidity is just crazy high, you could try freezing them. However, I haven’t tested freezing much because we usually go through the two-week batch fast! For a truly robust, long-term storage solution, you might want to check out how I handled moisture control when making my turkey and oat digestive treats; the principles are similar for keeping things dry!
Serving Suggestions for Turkey and Carrot Kibble Crumbs
So, you’ve got your jar of delicious, homemade, dry little nuggets! Now what? The best part about these crumbs is how versatile they are. They aren’t meant to be a whole meal, of course, but they are the perfect little booster shot for nutrition and excitement at mealtime. I treat mine like a savory sprinkle, just like you might put parmesan on pasta!
My favorite, hands-down, is using them to liven up plain old kibble. If your dog is eating a standard, healthy dry food but is starting to turn their nose up at it, toss a quarter cup of these crumbs over the top. The smell of the baked turkey just seems to wake everything up for them.
Don’t forget about wet food! If you feed canned food, these crumbs add a fantastic, chewy, dry element that breaks up the uniform texture. It makes the meal feel more substantial. I also sometimes sprinkle just a tiny bit over homemade meals—for example, if I’m making a simple mix of rice and ground chicken. It brings that cooked turkey flavor right into the fresh meal.
If you want to see some other ways people are turning simple ingredients into complete meal boosts, check out my page on general meal ideas. These crumbs are the perfect sidekick to those more involved recipes!
Frequently Asked Questions About Homemade Oven Baked Turkey and Carrot Kibble Crumbs
I know you might have a few little questions lingering about safety and technique before you dive into making a big batch of these. It’s smart to ask! We are dealing with homemade food here, so getting the dryness right is everything when it comes to storing your Homemade Oven Baked Turkey and Carrot Kibble Crumbs.
If you have more questions after reading these, please don’t hesitate to reach out; you can always drop me a note on my contact page!
Can I use different vegetables instead of carrots in this Homemade Oven Baked Turkey and Carrot Kibble Crumbs recipe?
That’s a great question, and yes, you absolutely can swap out the carrots! Think about swapping them for celery or even zucchini, but you need to be aware of the swap’s moisture level. Carrots work so well because they aren’t overly watery. If you use something like zucchini, which has a lot more natural water content, you absolutely must plan on adding more time to that second baking stage!
If you use a higher-moisture veggie, you might end up needing an extra 15 or 20 minutes just to draw that water out. If you don’t get it all out, those crumbs won’t keep for two weeks. So, feel free to experiment, but be ready to babysit the oven just a little longer to ensure everything is perfectly dry for storage!
How do I know when the crumbs are fully dry?
This is the most important question for shelf life! The initial 45 minutes gets the meat cooked, but the second bake is purely for desiccation. You can’t rely on color alone; sometimes they look golden but still have moisture lurking inside.
Here’s the test I use for my Homemade Oven Baked Turkey and Carrot Kibble Crumbs: once you take the pan out after the final bake, you need to let a few pieces cool on the counter for at least ten minutes. Pick one up and try to bend it between your fingers. If it bends even a little bit, or if it feels warm to the touch, it means there’s still water in there, and it needs to go back in for another 10-minute session. A truly dry crumb will snap cleanly in half, not crumble messily. That satisfying *snap* is what tells you they are safe and ready to store!
Estimated Nutritional Snapshot of Homemade Oven Baked Turkey and Carrot Kibble Crumbs
Now, before you worry about this being some kind of super-dense, fatty treat, let’s talk numbers! Since we are dealing with homemade food here, I always have to start by saying these figures are just estimates based on the raw ingredients I put in. Once you bake it all down and the moisture evaporates, the nutritional profile concentrates a bit, so these are definitely a topper, not a main meal replacement.
But you can see that we are keeping things lean and protein-packed! I always make sure to keep the fat level modest since we are adding a little olive oil, but the overall profile is fantastic for boosting flavor and protein content.
Based on my calculations for a serving size of 1/4 cup, here’s an idea of what you are sprinkling on your pet’s bowl:
- Calories: About 150 per serving
- Protein: A whopping 15 grams!
- Fat: Around 8 grams total
- Carbohydrates: Just 5 grams total
See? Fantastic protein boost! It’s great knowing exactly where those calories are coming from. If you’re ever looking for general information about pet food safety and disclosures, you can read up on their policies over at this link, but for these simple crumbs, you are good to go just based on the high-quality turkey we start with.
Share Your Homemade Oven Baked Turkey and Carrot Kibble Crumbs Success
I poured all my best tricks into this guide to make sure your crumb batch turns out perfectly dry and delicious for your buddy. But honestly, the best part of owning this recipe is seeing you all use it and hearing how much your pets love the results!
Once you pull that glorious, dry batch of Homemade Oven Baked Turkey and Carrot Kibble Crumbs out of the oven and let them cool, I really want to know what you think! Did your dog or cat go crazy for the new topper? Was the texture exactly what you were hoping for?
Please, please take a picture of your successful batch—maybe the crumbs layered perfectly over their dinner—and share it on social media! Tag me so I can see your amazing work. Every time someone tells me how this simple recipe made mealtime easier or healthier for their pet, it just confirms why I spend so much time developing these simple solutions in my own kitchen.

If you loved this recipe and want to see more of my favorite low-effort, high-impact pet food boosters, make sure to come back and leave a rating right here on the page. Happy baking (and feeding)!
Print
Homemade Oven Baked Turkey and Carrot Kibble Crumbs
- Total Time: 100 min
- Yield: About 2 cups 1x
- Diet: Low Fat
Description
Simple recipe for making dry, baked turkey and carrot kibble crumbs for pet food topping.
Ingredients
- 1 lb ground turkey
- 1 cup grated carrots
- 1/4 cup water
- 1 tablespoon olive oil
Instructions
- Preheat your oven to 300°F (150°C). Line a baking sheet with parchment paper.
- In a bowl, combine the ground turkey, grated carrots, water, and olive oil. Mix until just combined.
- Spread the mixture thinly and evenly onto the prepared baking sheet. Aim for a thickness of about 1/4 inch.
- Bake for 45 minutes.
- Remove from the oven and break the mixture into small pieces using a fork or spatula.
- Return the pieces to the oven and bake for another 30 to 45 minutes, stirring every 15 minutes, until the mixture is completely dry and crumbly.
- Let the crumbs cool completely before storing.
Notes
- Store cooled crumbs in an airtight container at room temperature for up to two weeks.
- For smaller pets, you can pulse the cooled crumbs in a food processor for a finer texture.
- Prep Time: 10 min
- Cook Time: 90 min
- Category: Pet Food Topping
- Method: Baking
- Cuisine: American
Nutrition
- Serving Size: 1/4 cup
- Calories: 150
- Sugar: 3
- Sodium: 60
- Fat: 8
- Saturated Fat: 2.5
- Unsaturated Fat: 5.5
- Trans Fat: 0
- Carbohydrates: 5
- Fiber: 1
- Protein: 15
- Cholesterol: 55
Keywords: turkey, carrots, dog food topping, cat food topping, homemade kibble, baked crumbs, pet treat