
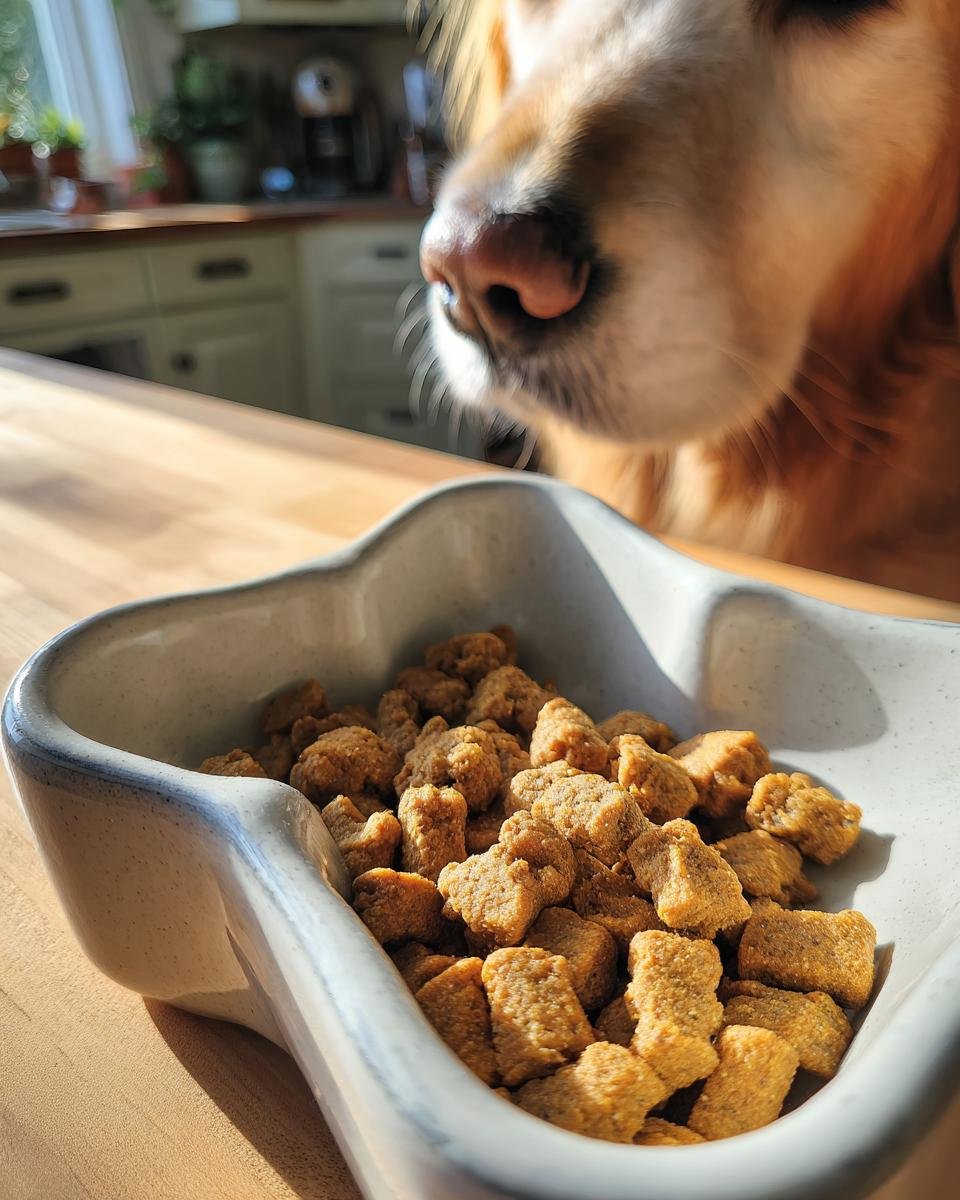
You know, once you start making things for your dog yourself, you never go back. Seriously! I get those little worries—what exactly is in that bag of commercial stuff? That’s why I am so excited to share my recipe for Homemade Chicken and Pea High Fiber Kibble. It’s totally dry, it stores great, and I know every single speck going into my pups!
I first started tinkering with this because Buster, bless his heart, has the most sensitive stomach. Everything seemed to upset him, but he needed that crunch and fiber. After failing miserably with soft food efforts, I landed on this dry kibble. The peas and oats give it a fiber boost that keeps him settled, and knowing it’s just real chicken and veggies makes me feel like the best dog mom in the world. It truly is a lifesaver for sensitive digestive systems!
Why Our Homemade Chicken and Pea High Fiber Kibble Stands Out
Listen, when it comes to treating your best friend, you want simple, real food, right? That’s exactly what this recipe delivers. Commercial kibble always seems packed with mysterious fillers. I wanted something that was explicitly easy on the tummy but still gave that satisfying crunch. This particular batch of Homemade Chicken and Pea High Fiber Kibble is fantastic because it skips all the junk and relies on whole ingredients we know and trust.
It’s amazing how much better they do when you control the inputs. When my pups switched to this, I immediately noticed the difference in their energy levels—and cleanup was much easier! You can see what you’re feeding them, and that transparency is everything.
Key Benefits of Homemade Chicken and Pea High Fiber Kibble
- High in Digestible Fiber: The peas and oat flour really shine here, supporting a super healthy gut.
- Lean Protein Power: We use pure, cooked chicken breast. No mystery meats, trust me!
- Zero Artificial Anything: You won’t find any colorings, flavorings, or chemical preservatives here.
- Totally Inexpensive: You’ll save a bundle compared to buying specialized, high-end fiber dog formulas. Check out the nutrition breakdown; it’s built to balance!
Gathering Ingredients for Homemade Chicken and Pea High Fiber Kibble
Okay, step two is getting our supplies together. Because this recipe relies on just a few core things, their quality really matters! You can’t skimp here if you want that perfect, dry kibble consistency we are aiming for. We need lean, cooked chicken—I usually boil boneless breasts until they are just done, then shred them finely. Don’t even think about grabbing pre-ground chicken here; we need that texture!
The fiber part is crucial, so pay attention to those dry goods. You absolutely must use oat flour, not whole oats, because we need that fine powder to bind everything together. If you don’t have it, just pulse whole rolled oats in your blender until it becomes a fine powder—easy peasy!
And the flaxseed? It has to be ground flaxseed for the nutrition to actually get absorbed. Whole seeds will just pass right through. I used that neat little oat mixture trick to make my oat flour, but you can definitely buy it ready-made if you’re short on time.
Ingredient Specifications for Homemade Chicken and Pea High Fiber Kibble
Let’s talk quality control for a second. When you cook your chicken, please try to use low-sodium broth or just water. We don’t need to pump extra salt into our pups! Also, the melted coconut oil isn’t just for flavor; it acts as a necessary binder and healthy fat source, so make sure it’s fully liquid when you mix it in.
The peas need to be cooked soft enough to mash slightly when you mix the dough. I usually steam mine briefly. And water? We’re only adding that a tablespoon at a time. We want a stiff dough, not a mushy batter. Remember, the less initial moisture we have, the less time we spend drying this out later!

Step-by-Step Instructions for Perfect Homemade Chicken and Pea High Fiber Kibble
Alright, this is where the magic happens, transforming that pile of ingredients into actual, crunchy kibble! Baking at a low temperature is key here, so set your oven to 300°F (150°C) first. Get a baking sheet lined with fresh parchment paper—don’t skip the paper, trust me; this stuff likes to stick if you aren’t careful. This whole baking setup is designed to dry things out slowly, which is exactly what we want in our Homemade Chicken and Pea High Fiber Kibble.
Mixing and Forming the Homemade Chicken and Pea High Fiber Kibble Dough
In your biggest bowl—you’ll need it—toss in the shredded chicken, those tender peas, the flour, the ground flaxseed, and the melted coconut oil. Mix that up until it looks like chunky, textured mush. Then, drop in the egg and just start combining. Here’s my biggest tip, right from Step 3: you’re going to add water, one tiny splash (tablespoon) at a time. Keep mixing until the whole thing just starts turning into a really stiff, almost crumbly dough. If it’s wet or sloppy, it’ll never dry into proper kibble! It should take a bit of wrestling to bring it together. We’re aiming for firm, not sticky!
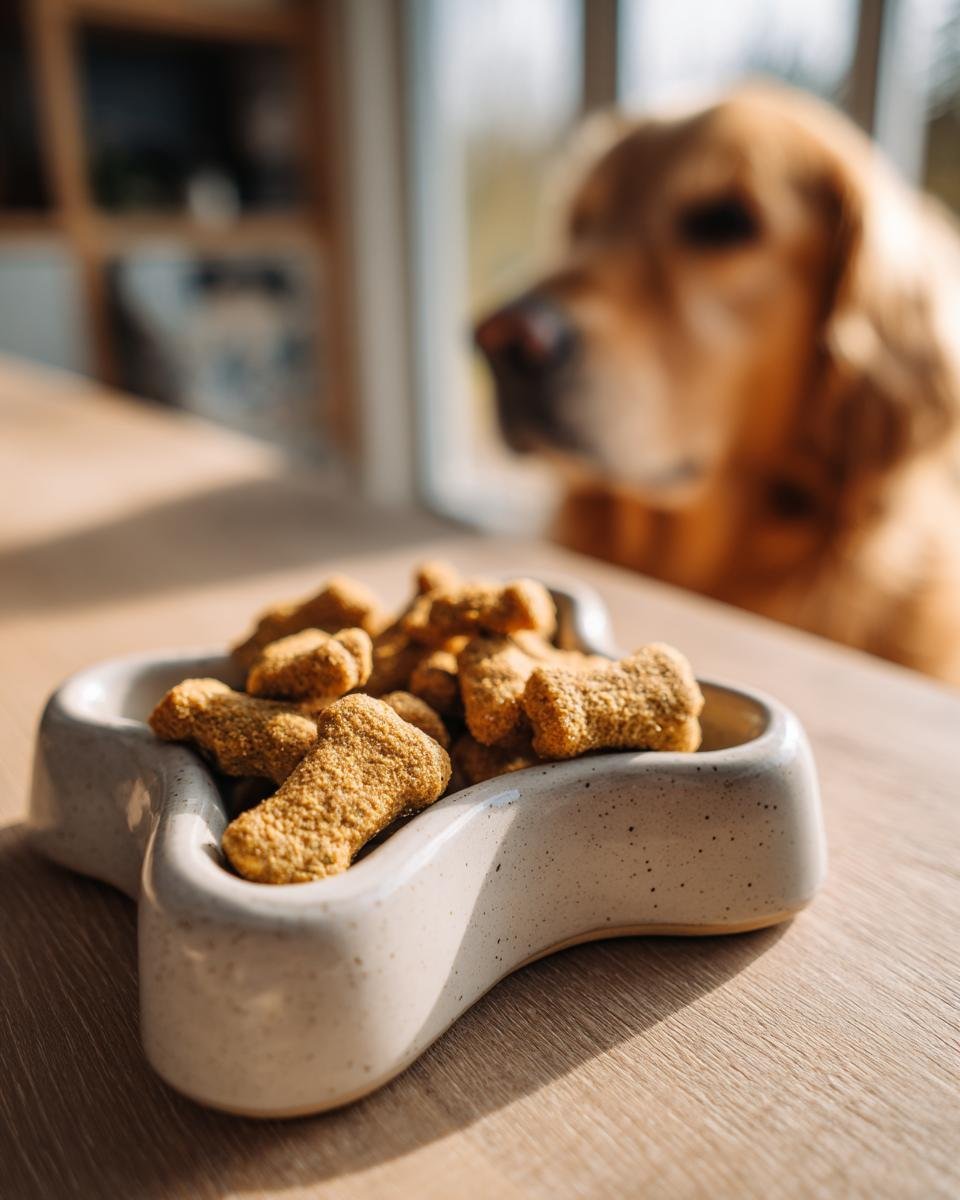
Once that dough is ready, roll it out between two pieces of parchment paper. I like to get mine just about 1/4 inch thick across the whole tray. You want consistency for even baking, you know? Then, take a knife or a pizza cutter and gently score the entire sheet into those little bite-sized squares. Don’t cut all the way through yet! We just need neat lines so they break apart easily later.
Baking and Drying: Achieving True Kibble Texture
Slide that sheet into the preheated oven and let it bake for about 30 to 40 minutes. You are looking for the edges to look dry and the whole sheet to feel quite firm when you gently tap it. But here’s the real secret to making this a shelf-stable, dry kibble—the cooling phase! When that 40 minutes is up, turn the oven OFF. Don’t open the door completely, just prop it slightly ajar, maybe with a wooden spoon handle so it’s just a crack.
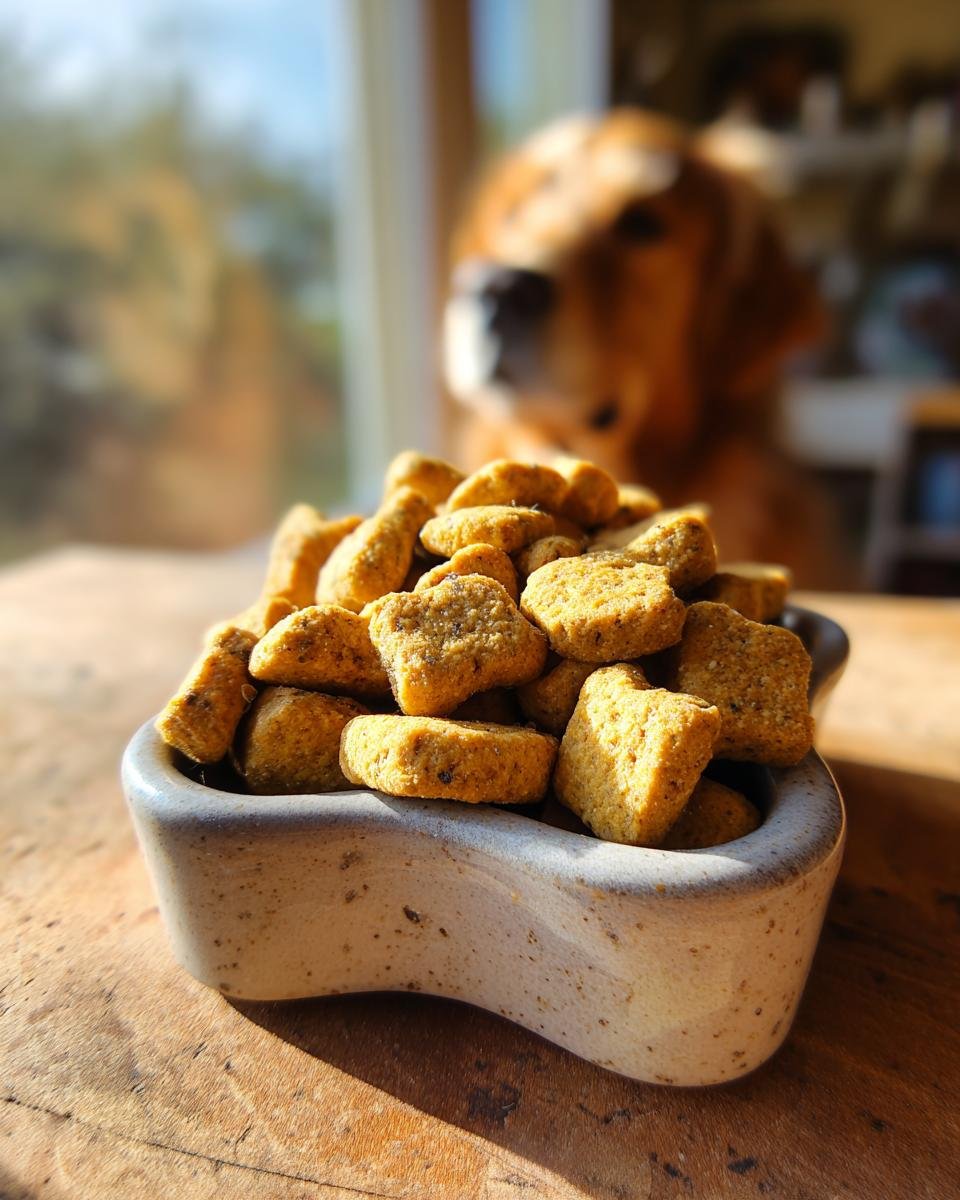
Let that kibble sit in the residual heat for at least an hour, maybe even two. This slow drying process removes the last bit of moisture that causes spoilage. If you skip this, your homemade food might mold super fast. When you finally pull it out, let it cool completely on the counter. Once it’s cold and rock-hard, you just snap those scored pieces apart. Voila! Perfect, crunchy texture from our favorite chicken and pea combination.
Tips for Success When Making Homemade Chicken and Pea High Fiber Kibble
Making Homemade Chicken and Pea High Fiber Kibble is surprisingly easy, but a few little tricks can make the difference between a chewy dog biscuit and a satisfyingly crunchy kibble. My main piece of advice centers around moisture control—it’s everything when you are trying to make a dry product!
When you score those little squares, try varying the size slightly. If your oven has hot spots, smaller pieces will dry out faster. By making a few small and a few medium squares on the same tray, you ensure you get a good mix of textures when you break them apart later. It’s a tiny hack, but it worked for me when I couldn’t perfectly regulate my old oven!
You must prioritize that final drying stage in the turned-off oven. If you break off a piece when it’s still even slightly warm and it seems soft or bendy, that means it needs more time. Mold is the enemy of homemade dog food, and it happens fast if there’s residual moisture trapped inside. Make sure every piece is hard to the touch before you store it. If you’re ever in doubt, pop them back in the slightly ajar oven for another 30 minutes! For more ideas on preserving lean meats, check out my thoughts on chicken and pumpkin jerky.
Storage and Shelf Life for Your Homemade Chicken and Pea High Fiber Kibble
The final, and maybe most important, step is knowing how to keep this incredible batch of Homemade Chicken and Pea High Fiber Kibble safe and crunchy! Since we worked so hard to get all that moisture baked out—remember propping the oven door?—we need to keep it dry. Don’t just dump it into a regular plastic bin. You absolutely must use a truly airtight container.
I prefer glass jars with tight-sealing lids, but any high-quality, air-proof plastic container works too. Store it in a cool, dark spot in your pantry. Because we eliminated so much moisture, this kibble lasts way longer than other homemade soft treats. If you dried it perfectly, expect it to stay fresh and perfectly crunchy for about two to three weeks.
If you’re making giant batches, which I often do because these are so popular around here, you can absolutely freeze the leftovers! Pop the kibble into sturdy zip-top freezer bags, squeeze out all the air you can, and they’ll be good for up to three months. When you need some, just pull out what you need and let it thaw on the counter for an hour. It keeps that fresh, homemade goodness locked in!
Variations on Homemade Chicken and Pea High Fiber Kibble
You know, once you nail the base recipe for this Homemade Chicken and Pea High Fiber Kibble, you can start playing around a little bit! But be warned: keep the structure in mind. We need that binder and fiber so it dries hard like a proper kibble.
If you want to switch up the flour, chickpea flour works surprisingly well instead of the oat flour. It keeps that high-fiber punch, which is what we want! Or if you want to give the flavor a little lift, try stirring in just a tiny pinch of dried parsley or even dried mint right in with the flour and flaxseed. It smells amazing when it bakes!
I also sometimes swap out the peas for finely mashed cooked sweet potato—always cooked first, though! That adds a different kind of moisture and sweetness, but you might need *slightly* less water in the dough since sweet potato is wetter than peas. If you feel like experimenting with a different lean protein, check out my notes on the chicken and carrot fitness jerky—that drying method is similar!
Frequently Asked Questions About Homemade Chicken and Pea High Fiber Kibble
It makes sense that you’ll have questions jumping into the world of homemade dog food! It’s different from grabbing a bag off the shelf. I’ve gathered the questions I get most often about this Homemade Chicken and Pea High Fiber Kibble batch. Hopefully, these clear things up so you can get baking!
Can I substitute the chicken in this Homemade Chicken and Pea High Fiber Kibble?
Oh yes, you certainly can! The key is swapping like for like, meaning you need another lean protein source. Cooked, finely shredded turkey works beautifully as a straight swap. Lean ground beef, cooked until completely done and drained well, is another great option. The most important thing is that whatever meat you use is cooked thoroughly and very finely broken up or shredded so it mixes evenly into that stiff dough. It really changes the flavor profile, too—my dogs love when I switch it up!
How long does this high fiber dog food last when stored correctly?
This is where all that painstaking drying time in the oven pays off. Because we baked this low and slow to get maximum moisture out, these crunchy pieces of high fiber dog food hold up really well. If you store them in a truly airtight container in a cool, dark pantry, they should stay perfectly fresh and crunchy for about two to three weeks. If you think you won’t get through that much, just pop the rest in the freezer! You can also look at my turkey and sweet pea jerky recipe for a different storage method.
Is the fiber level appropriate for all dogs?
That is such an important question! This recipe is great because it’s loaded with fiber from the peas and oats, which is wonderful for regulating digestion, but not every dog needs that level. If your pup has known, specific health issues or is on a prescription diet, you absolutely must check with your veterinarian first. They know your dog’s medical history. I formulated this based on advice for general digestive maintenance, but a vet’s sign-off is always the gold standard for any homemade dog food diet!
Estimated Nutritional Snapshot for Homemade Chicken and Pea High Fiber Kibble
Now, I know some of you are going to want to see the exact numbers, and I totally get that! When you’re making homemade dog food, every cook wants to know precisely what they are sending their pup off with.
However, I have to give you a little disclaimer here, and I hope you trust me on this one. Since we control such fresh ingredients—and you might use a slightly different brand of oat flour or your chicken breast might be trimmed slightly differently than mine—the exact nutrient profile is going to wiggle around a bit for every batch.
So, while I’ve done the math on my initial tests, I am not posting hard numbers here because they are just estimates, truly! What I can tell you is that the goal of this high fiber dog food is a good balance of lean protein and dietary fiber, low on unnecessary fats, but you should use these ingredient lists as a guide and consult with your vet if you have strict balancing needs. The drying method is what really makes this recipe shine, ensuring maximum stability, more so than stressing over the calorie count down to the decimal point!
Share Your Homemade Chicken and Pea High Fiber Kibble Results
Well, we made it! You’ve got a big, crunchy batch of Homemade Chicken and Pea High Fiber Kibble drying beautifully on your counter right now. Now comes my absolute favorite part: seeing how your pups react!
Seriously, tell me everything! Did your picky eater even look twice, or did they devour it the second you placed it down? I love seeing photos of dogs getting excited about their healthy, homemade food. It truly makes all the slow baking time worth it.
Please, don’t just leave this recipe sitting here! Take a minute to rate it right down below—five stars if your dog is happy and healthy on it, fewer if you ran into trouble (which we can help fix in the comments!). If you took pictures of the drying process or your dog crunching away, please link them!
We all love to share our pet care victories, so drop your experience in the comments section. If you had any ingredient swaps that worked perfectly, let the community know! Need to ask another sneaky question? The contact page is always open, but the comments are the best place for general recipe chat. Happy feeding!
Print
Homemade Chicken and Pea High Fiber Kibble
- Total Time: 180 min
- Yield: Approximately 3 cups 1x
- Diet: Low Fat
Description
A recipe for making dry dog food kibble at home using chicken and peas for added fiber.
Ingredients
- 1 cup cooked, shredded chicken breast
- 1 cup cooked green peas
- 1/2 cup oat flour
- 1/4 cup ground flaxseed
- 2 tablespoons coconut oil, melted
- 1 large egg
- 1/4 cup water (or as needed)
Instructions
- Preheat your oven to 300°F (150°C). Line a baking sheet with parchment paper.
- In a large bowl, combine the shredded chicken, cooked peas, oat flour, ground flaxseed, and melted coconut oil. Mix well.
- Add the egg and mix until the ingredients start to come together. Add water one tablespoon at a time until a stiff dough forms.
- Roll the dough out between two sheets of parchment paper to about 1/4 inch thickness.
- Remove the top sheet of parchment paper. Use a knife or pizza cutter to score the dough into small, kibble-sized squares or shapes. Do not separate them yet.
- Bake for 30 to 40 minutes, or until the dough is firm and starting to dry out.
- Turn off the oven, crack the door slightly, and let the kibble cool and dry inside the oven for another 1 to 2 hours to remove more moisture.
- Once completely cool and dry, break the pieces apart along the scored lines.
- Store the finished kibble in an airtight container.
Notes
- This recipe yields a low-moisture product suitable for dry storage.
- Adjust the water content to achieve a firm, workable dough consistency.
- Ensure the chicken is fully cooked before mixing.
- Prep Time: 20 min
- Cook Time: 40 min
- Category: Pet Food
- Method: Baking
- Cuisine: General
Nutrition
- Serving Size: 1/4 cup
- Calories: 180
- Sugar: 2
- Sodium: 50
- Fat: 8
- Saturated Fat: 3
- Unsaturated Fat: 5
- Trans Fat: 0
- Carbohydrates: 15
- Fiber: 4
- Protein: 14
- Cholesterol: 55
Keywords: homemade dog food, chicken kibble, pea dog food, high fiber dog food, natural dog treats