
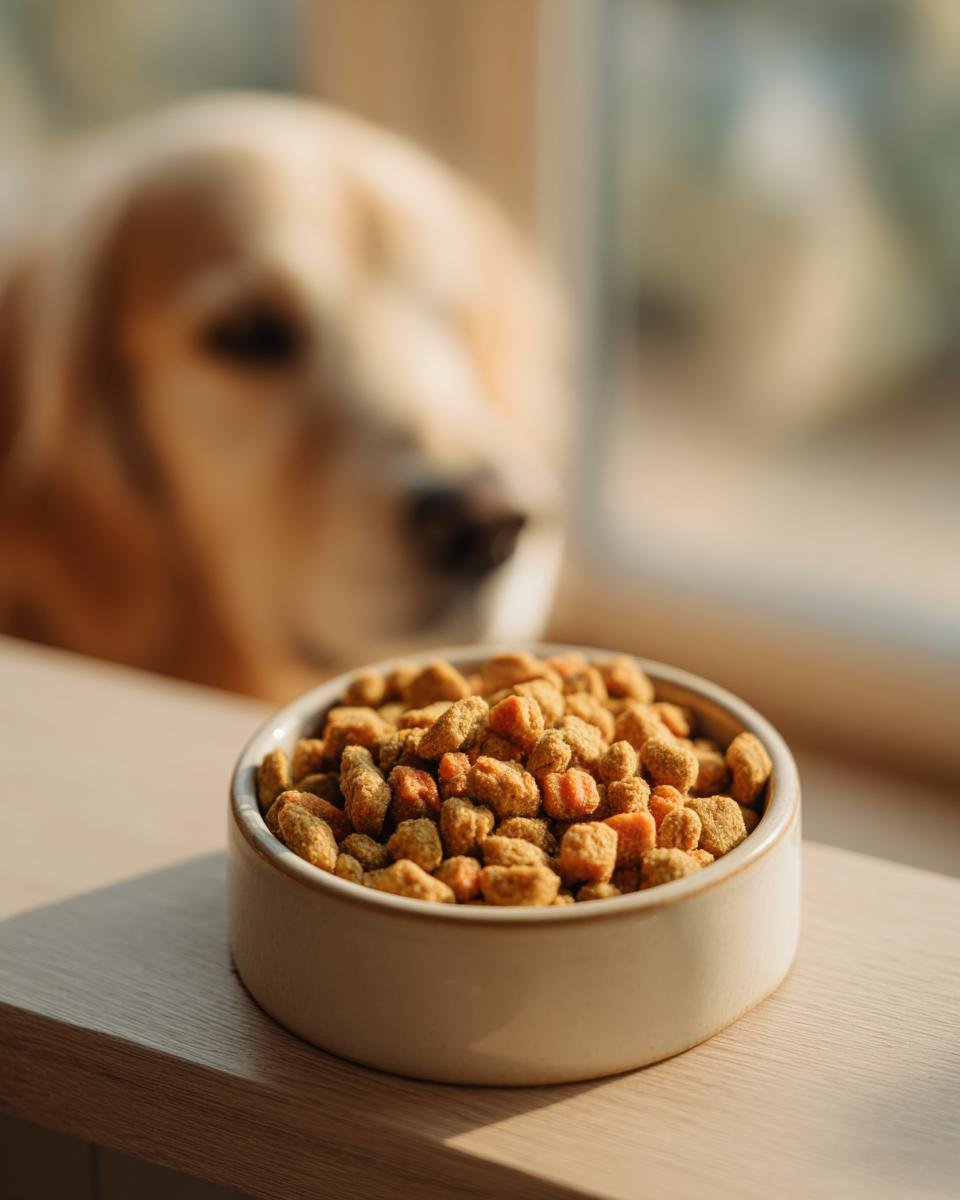
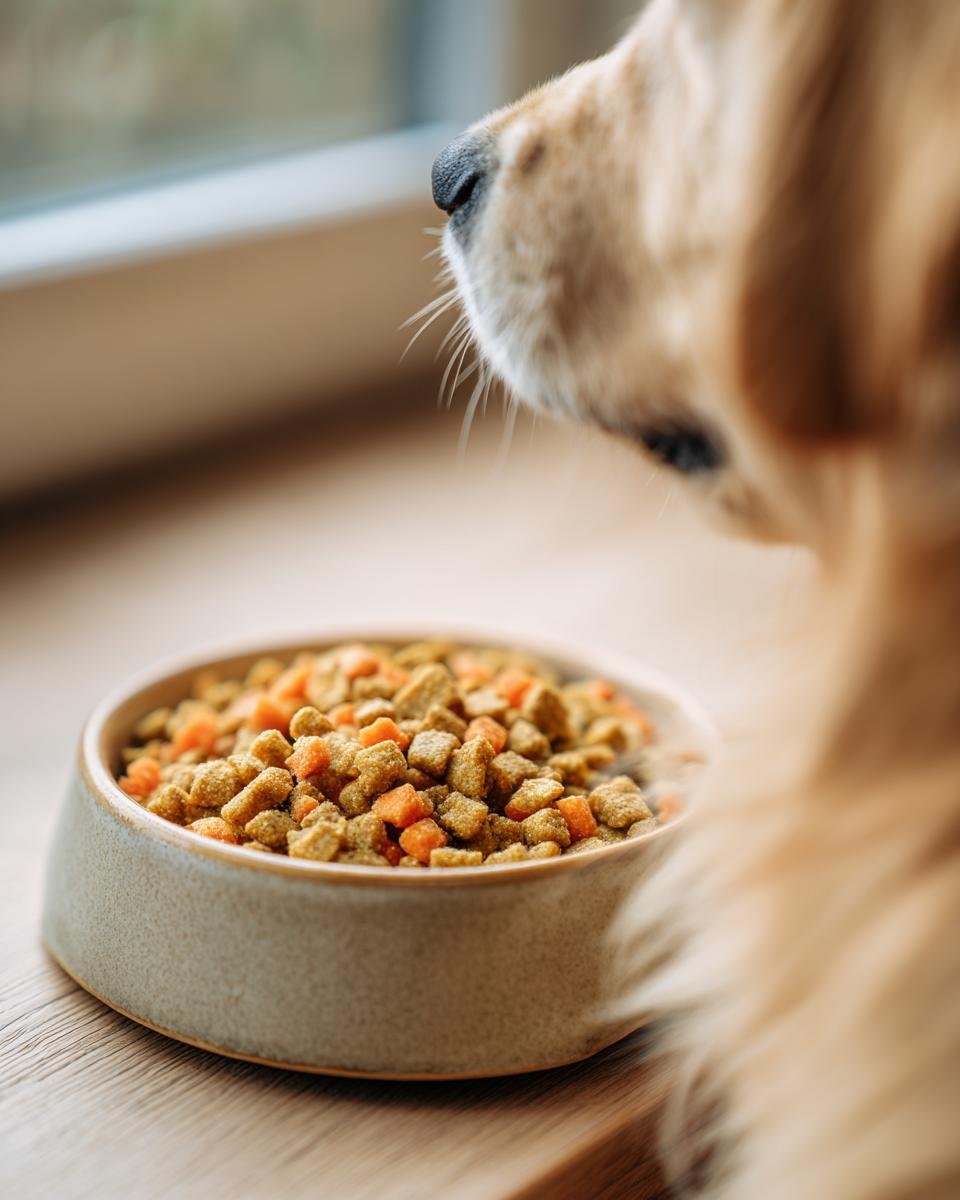
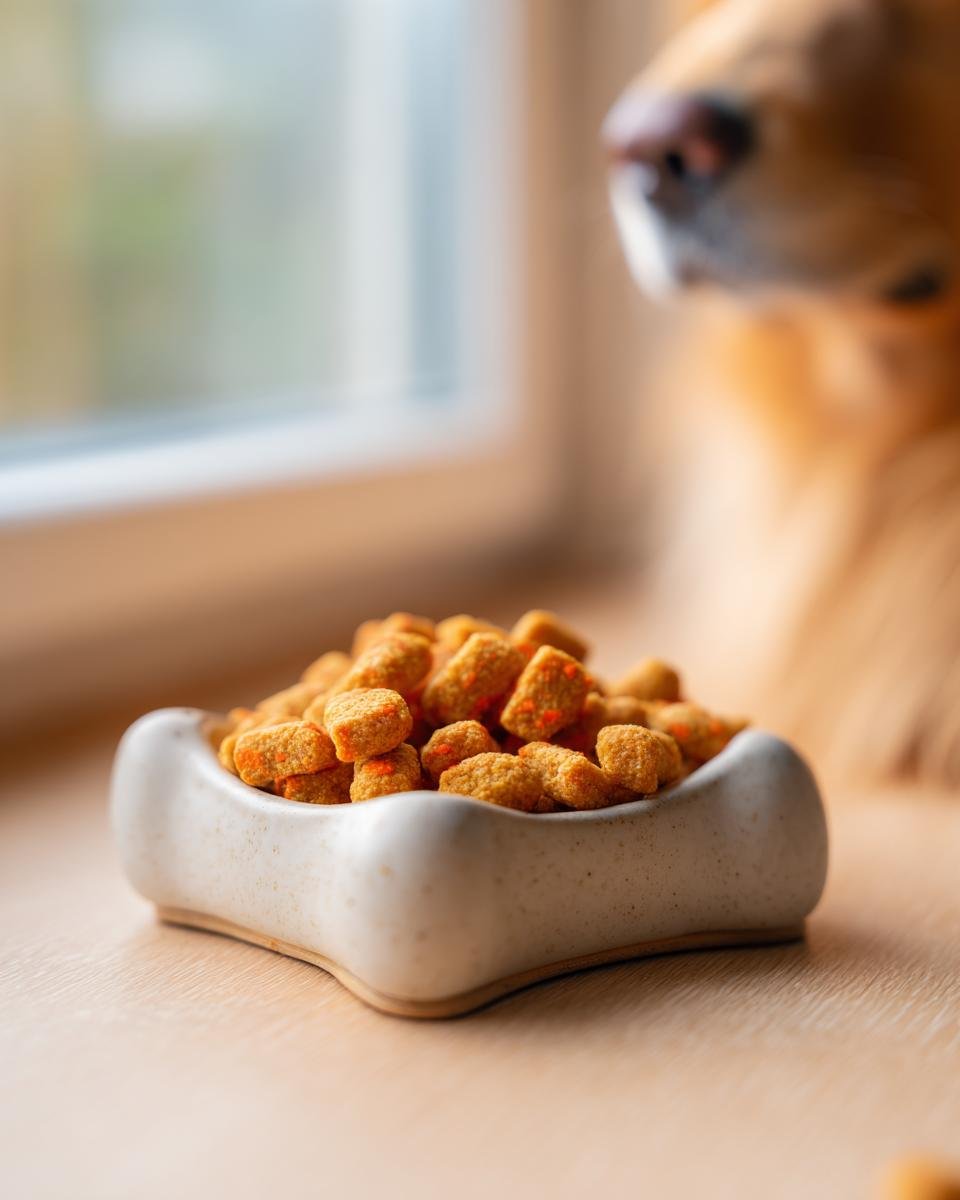
Honestly, isn’t it the best feeling when you know exactly what fuel you’re putting into your best friend? I started tinkering around in the kitchen because frankly, some of those ingredient labels scared me half to death! I wanted something reliable, something satisfying, and something that didn’t require me to spend hours slaving over a hot stove every night. That’s why I landed on these Homemade Chicken and Carrot Mini Crisp Kibbles. They are brilliant! They’re small, totally crunchy—which my dog, Buster, absolutely loves—and they work perfectly as training rewards or just part of his regular meal rotation. It took a few tries to get that perfect snap, but now I feel great knowing I’m supplying quality protein and veggies right from my own oven. If you want control over what your pup eats, you have to try this batch! For more on my kitchen philosophy, check out my about page.
Why Make Homemade Chicken and Carrot Mini Crisp Kibbles?
There are so many reasons I prefer making these for Buster instead of just grabbing a bag off the shelf. The main thing is control, which I talk about more over in the treats section. I know exactly what’s going into every single bite of these Homemade Chicken and Carrot Mini Crisp Kibbles. No mystery fillers here!
- Less stress knowing the protein sources are top-notch.
- The carrots add natural goodness and sweetness my dog loves.
- They are budget-friendly for how much quality you pack in!
Ingredient Transparency and Quality Control
It’s about trust, right? When you make something yourself, you eliminate all those additives or preservatives you can’t even pronounce. I love opening the jar and smelling just chicken and vegetables. That simple ingredient list means I can trust what I’m feeding him day in and day out.
Achieving the Perfect Mini Crisp Texture
Buster absolutely lives for the crunch! We aren’t just making mush here; we are aiming for that satisfying snap. A good, hard crunch like this is actually fun for them and I always figure it helps keep their teeth a bit cleaner between dental cleanings. The low-and-slow baking process is the secret to getting that perfect mini crisp finish every time.

Gathering Ingredients for Homemade Chicken and Carrot Mini Crisp Kibbles
Okay, gathering your supplies is the fun part where you see all the good stuff coming together! You don’t need a massive pantry for this recipe; it’s all very straightforward, which is why I love pulling these Homemade Chicken and Carrot Mini Crisp Kibbles together on a whim. Remember, using quality components is what guarantees great results. If you are curious about other chicken and carrot mixes I do, check out my chicken carrot fitness jerky recipe!
Specifics on Chicken and Carrot Preparation
This is where the E-E-A-T comes in, so pay attention! The chicken breast absolutely *must* be cooked first—I usually boil a batch and shred it really finely. You can’t just throw raw chicken in there, of course! The carrots are next; they need to be raw and grated as finely as you can manage. We want them to blend into the dough, not stick out like big chunks.
Flour Types for Homemade Chicken and Carrot Mini Crisp Kibbles
We’re using two flours here, and they play different roles! The whole wheat flour is your main binder, giving the bulk of the structure. Then we sneak in that oat flour. It adds just a little something extra nutritious without making these Homemade Chicken and Carrot Mini Crisp Kibbles heavy. Don’t swap the oat flour out for anything else if you want that trademark crispness!
Step-by-Step Instructions for Homemade Chicken and Carrot Mini Crisp Kibbles
Alright, time to get our hands dirty! This is where all those lovely prepped ingredients turn into actual food. Trust me, seeing this stiff dough come together is really satisfying. We’re aiming for something that holds its shape well, which means we need to mix it thoroughly but not overwork it once the flour hits the wet stuff. If you’re looking for these to be a core part of his diet, you can browse my meal category for ideas!
Mixing the Dough for Homemade Chicken and Carrot Mini Crisp Kibbles
First off, you start wet. Get that shredded chicken, the grated carrot, and the water all mixed up in a big bowl until they are one happy messy unit. Now for the dry stuff—the whole wheat flour, the oat flour, and that crucial egg. Dump them all in! You’ll need to mix vigorously here; I usually end up using my hands because the mixer just can’t handle how stiff this gets. Keep going until it really comes together into a solid ball of dough. Don’t worry if it looks a little chunky from the chicken!
Rolling and Cutting to Mini Kibble Size
This step is crucial for our Homemade Chicken and Carrot Mini Crisp Kibbles to actually be *crisp* and not chewy. Dust your counter lightly—just a whisper of flour is fine. Roll the dough out until it’s super thin, about 1/8 of an inch. If it’s thicker than that, they won’t dry out properly when baking. Then, grab a tiny cookie cutter—use the tip of a knife if you have to—and cut out the smallest shapes you can manage. Think tiny, bite-sized squares or circles.
Baking and Drying for Maximum Crispness
Get those little pieces spread out on your parchment-lined sheets, making sure they aren’t touching because we need air circulation. Into the 300°F oven they go for about 30 to 40 minutes until they look pale and hard. But here’s the real secret for these Homemade Chicken and Carrot Mini Crisp Kibbles: turn the oven OFF when that timer dings! Leave the door propped open just a crack—a wooden spoon works wonders here—and let them hang out in the residual heat for another half hour. That slow cool-down is what gets them perfectly brittle and ready for storage.
Tips for Success When Making Homemade Chicken and Carrot Mini Crisp Kibbles
Look, even with the clearest recipe, things can go a little sideways in the kitchen! These little tips are what I learned after batch number three, which ended up being slightly chewy—a total disaster for a crisp kibble! We want these chicken carrot fitness jerky disasters to be a thing of the past. Getting the baking time right is absolutely critical if you want success with your Homemade Chicken and Carrot Mini Crisp Kibbles.
Ingredient Substitutions for Homemade Chicken and Carrot Mini Crisp Kibbles
I always get asked about swapping the protein, so here’s the deal: you can definitely use cooked ground turkey instead of the chicken. It works just as beautifully and has a similar lean profile, which keeps these Homemade Chicken and Carrot Mini Crisp Kibbles nice and low fat. Don’t mess with the vegetable though! The carrot is key for moisture and color content in this specific formula. I haven’t tested anything besides those two meats, so play it safe and stick to the poultry options!
Preventing Mold Through Proper Drying
This is non-negotiable, friends. If you store them even slightly warm or moist, you are basically cultivating mold soup in an airtight container. That final cooling phase in the turned-off, slightly ajar oven? That’s not optional; that’s the hardening step! You have to test a few pieces once they are cool—they should snap cleanly in half. If they bend or feel soft at all, pop them back into a low oven for another ten minutes. Seriously, an ounce of dryness now saves you seven ounces of worry later!
Storage and Handling of Your Homemade Treats
Okay, you’ve baked these beauties, and they are perfectly crisp and rock hard—awesome job! Now we have to keep them that way so they stay fresh and safe for your pup. Keeping the moisture out is the absolute biggest battle here. If you want these treats to last, you need to be strict about proper storage right from the start.
I always use glass jars with really tight, locking lids. Think about those classic canning jars—those are your best friend. Plastic containers can sometimes sweat on the inside, especially if they aren’t perfectly dry, and that ruins the crispness we worked so hard for. Once they are completely cool to the touch, pop them right into the jar and seal it tight. Make sure you sealed the oven door right when you finished your cooling process, too; we don’t want any humidity creeping in!
How long do they last? This depends entirely on how dry you got them! If you followed that double-baking/slow-drying method perfectly, they should last right around two to three weeks at room temperature, easily. I keep mine in a cool, dark pantry. If the weather is super humid where you live, or if you skipped that final oven cool-down, you might cut that time down to just one week. If you’re ever unsure, or if you notice any softness, just toss them back in a very low oven for twenty minutes to dry them out again before sealing them up. Safety first, always! If you ever have questions about my recipes or storage, feel free to reach out on my contact page.
Frequently Asked Questions About Homemade Chicken and Carrot Mini Crisp Kibbles
I always get the same questions pop up when people try this recipe for the first time, which makes sense! Baking dog food takes a little different mindset than baking cookies for yourself, ha! I pulled together the top things I hear most often so you can feel confident making these for your pup. If you’ve had success, check out my thoughts on other tasty recipes over right here.
Can I use a different type of flour in the Homemade Chicken and Carrot Mini Crisp Kibbles?
This is tricky! While you absolutely *can* use things like rice flour or chickpea flour, I wouldn’t recommend it if you are aiming for the super crisp texture that makes these Homemade Chicken and Carrot Mini Crisp Kibbles so snackable. Whole wheat provides necessary density, and oat flour adds that subtle binding quality. Changing them often leads to a product that just won’t dry out completely, making them chewy instead of crisp.
How long do these homemade kibbles last?
This relies entirely on those drying steps we went over. If you ensure they are rock hard and store them in a proper airtight container away from heat and humidity, they should last two to three weeks easily at room temperature. If your house is super warm or humid, or if you skipped that final cooling trick in the oven, maybe stick to one week and check on them.
What temperature is best for baking dog food kibble?
Think low and slow! We aren’t trying to *cook* the chicken and carrot mixture in the oven; we are drying it out, which is a different process. I stick to 300°F (150°C) for the initial bake. The real trick to ensure your Homemade Chicken and Carrot Mini Crisp Kibbles are shelf-stable is finishing them off by turning the oven *off* and leaving the door ajar. That gentle, residual heat pulls out all remaining moisture without burning our hard work!
Estimated Nutritional Snapshot for Homemade Chicken and Carrot Mini Crisp Kibbles
Now, I know you aren’t feeding these to your pup for deep nutritional analysis—we’re making food because we trust the ingredients, but having a general idea is always helpful! Since every pup eats a different amount, these numbers are based on the serving size listed in my recipe notes, which is about 1/4 cup.
You have to remember these are just estimates, you know? They change based on how much water evaporates or if you use slightly different cuts of chicken. But compared to a lot of the store-bought stuff, I feel really good about these ratios!
If you are ever curious about other lean options I use, you should see how I prepare my turkey sweet pea light jerky; it uses similar low-fat principles!
Here is the breakdown for one serving (about 1/4 cup):
- Calories: 180
- Protein: 16g (That’s fantastic!)
- Fat: 4g (4g total, mostly unsaturated, which is great)
- Carbohydrates: 20g
- Fiber: 2g
- Sugar: 2g (All natural from the carrots!)
See? Nice and clean! The protein content is excellent, and we keep the saturated fat super low, which is what I aim for when I’m preparing my dog’s regular meals.
Share Your Homemade Chicken and Carrot Mini Crisp Kibbles Results
Well, that’s it! You’ve officially made a batch of delicious, healthy, incredibly crunchy Homemade Chicken and Carrot Mini Crisp Kibbles. Seriously, I want to see the results! Give this recipe a rating right down below—did your pup dive right in? Did they try to snatch the whole batch off the cooling sheet?
I get such a kick out of hearing how much your dogs love these simple, homemade treats. Do you have a favorite way to cut them? Maybe you piped the dough instead of rolling it thin? Tell me everything in the comments!
Don’t forget to snap a picture of your pup enjoying their new favorite snack and share it! It means the world to me when I see my recipes being put to good use. If you try this recipe and love the simplicity, you can check out some other favorites I’ve shared over at my highly rated section. Happy baking, and lots of happy tail wags to your furry family!
Print
Homemade Chicken and Carrot Mini Crisp Kibbles
- Total Time: 90 min
- Yield: About 3 cups 1x
- Diet: Low Fat
Description
Simple recipe for making small, crunchy dog kibble at home using chicken and carrots.
Ingredients
- 1 cup cooked, shredded chicken breast
- 1/2 cup finely grated raw carrot
- 1/4 cup water
- 1 cup whole wheat flour
- 1/4 cup oat flour
- 1 large egg
Instructions
- Preheat your oven to 300°F (150°C). Line two baking sheets with parchment paper.
- In a large bowl, combine the shredded chicken, grated carrot, and water. Mix well.
- Add the whole wheat flour, oat flour, and egg to the chicken mixture. Mix until a stiff dough forms.
- On a lightly floured surface, roll the dough out thinly, about 1/8 inch thick.
- Use a small cookie cutter or knife to cut the dough into very small, bite-sized pieces (mini kibble size).
- Place the pieces on the prepared baking sheets.
- Bake for 30 to 40 minutes, or until the kibbles are hard and completely dry.
- Turn off the oven and leave the kibbles inside with the door slightly ajar for another 30 minutes to cool and crisp up fully.
- Store cooled kibbles in an airtight container.
Notes
- You can substitute cooked ground turkey for chicken.
- Ensure the kibbles are completely dry before storing to prevent mold.
- Adjust baking time based on your oven; check for hardness.
- Prep Time: 20 min
- Cook Time: 70 min
- Category: Pet Food
- Method: Baking
- Cuisine: General
Nutrition
- Serving Size: 1/4 cup
- Calories: 180
- Sugar: 2
- Sodium: 50
- Fat: 4
- Saturated Fat: 1
- Unsaturated Fat: 3
- Trans Fat: 0
- Carbohydrates: 20
- Fiber: 2
- Protein: 16
- Cholesterol: 45
Keywords: dog food, homemade kibble, chicken, carrot, mini crisp, healthy dog treat