
If you’re like me, you spend way too much time reading ingredient labels, trying to figure out what *really* ends up in your dog’s bowl. Seriously, those mystery fillers always get me! I decided years ago that my best friend deserved the absolute best, so I started experimenting in the kitchen.
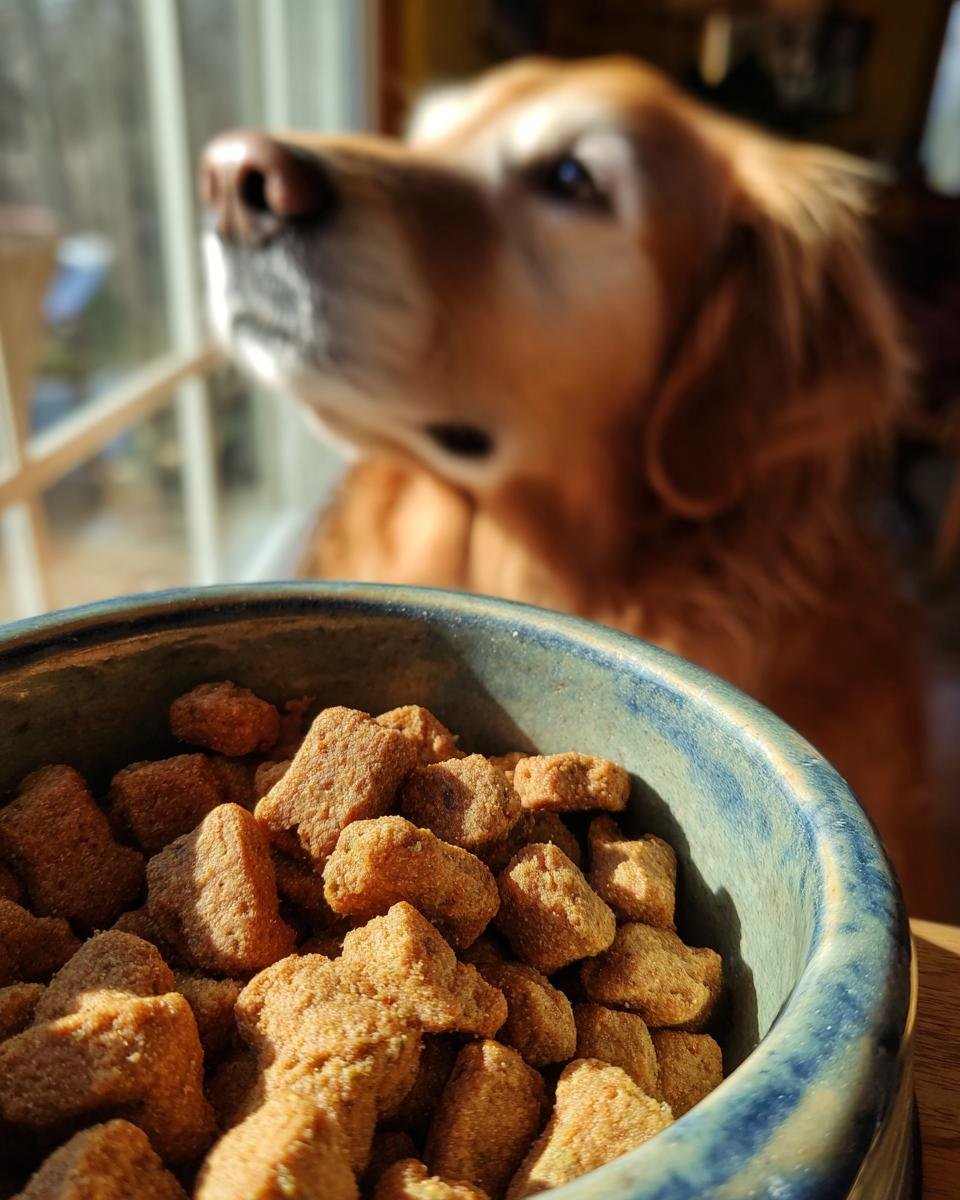
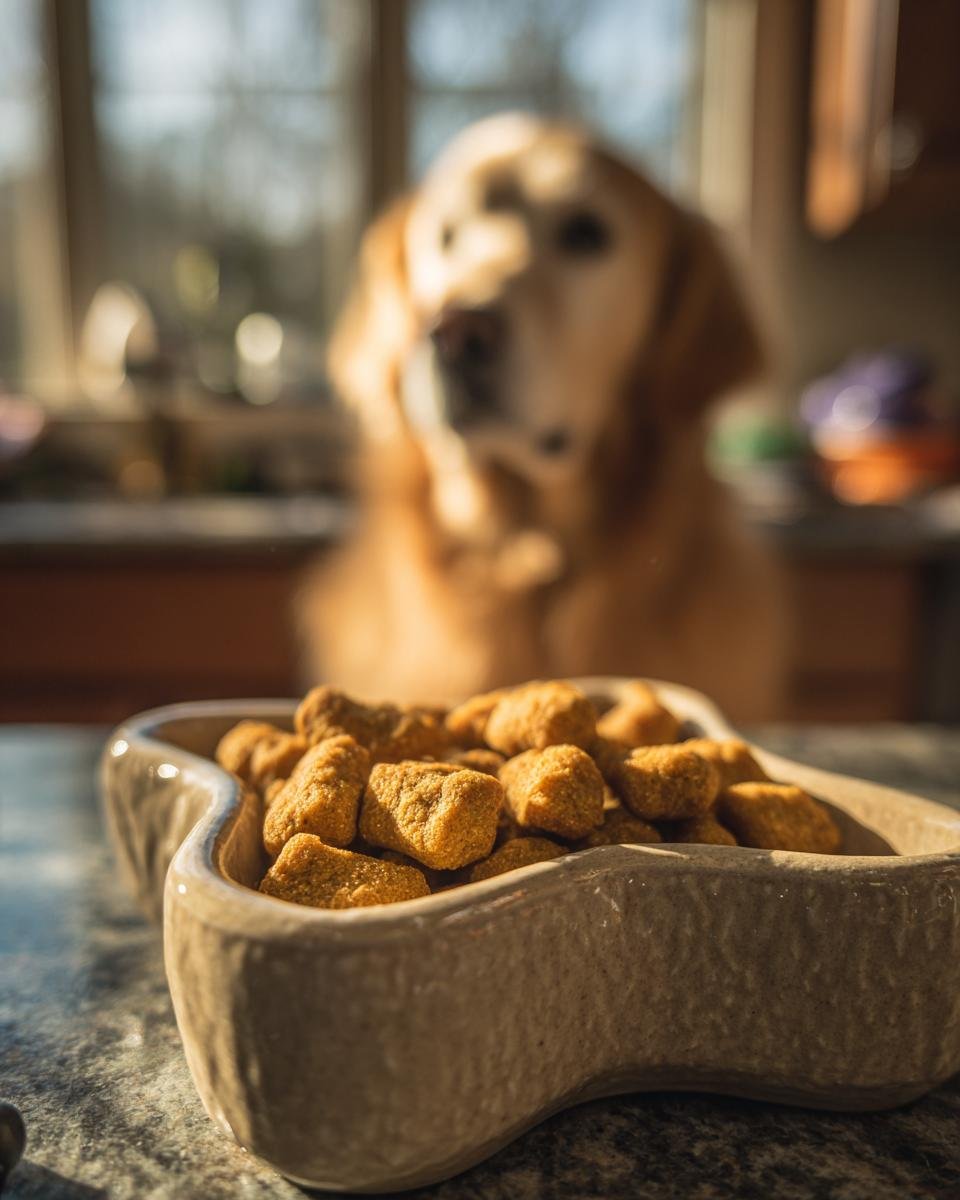
That’s how I landed on this incredible recipe for **Homemade Chicken and Broccoli Immune Support Kibbles**. They’re dry, crunchy, easy to store, and packed with goodness. We’re talking simple, high-quality ingredients designed to give a little daily boost right where it matters most. Trust me, once you start baking these, you won’t go back to the giant bags!
Why You Will Love These Homemade Chicken and Broccoli Immune Support Kibbles
Making these little nuggets for my dog, Buster, is seriously one of the easiest things I do all week. I know what’s going into every single bite, and he goes absolutely wild for them! You are going to keep making these because:
- They bake up totally dry, which means they are perfectly crunchy—no soft, mushy surprises here!
- You only use six main ingredients, so shopping and prep are super fast. Seriously, under 20 minutes of actual work!
- We’re skipping all those weird preservatives and corn fillers you find in store-bought bags. It’s just clean fuel.
- The chicken provides amazing lean protein, which is essential for keeping energy levels up.
- Broccoli? It’s packed with vitamins that give the recipe its special immune support boost we are aiming for.
- You can pop them in the freezer, which is a lifesaver for busy weeks.
Essential Ingredients for Homemade Chicken and Broccoli Immune Support Kibbles
Okay, the ingredient list here is short and sweet, which is exactly what I love about them. When you’re making these **Homemade Chicken and Broccoli Immune Support Kibbles** for your best friend, ingredient quality is super important. I always grab lean chicken breast—we don’t want loads of extra fat floating around when we are trying to make something healthy, right?
Remember, we need those veggies properly prepped so they blend nicely into a stiff dough. This keeps the kibbles structurally sound when they bake! Here’s what you need on hand:
- One full cup of cooked, nicely shredded chicken breast. It needs to be plain, no salt or spices added!
- One cup of broccoli florets that have been steamed until they’re soft, and then chopped up really, really finely.
- Half a cup of oat flour. This is what binds everything together perfectly. If you need a backup, you can use whole wheat flour, but oat flour just seems to give a better crunch.
- A quarter cup of unsweetened applesauce—this adds just a touch of moisture and sweetness that helps the dough hold.
- We need one large egg, used as our second binder.
- And finally, one tablespoon of coconut oil, melted. This helps keep the dough workable before it hits the oven.
Seriously, that’s it! It’s amazing how good these smell when they start baking. If you’re looking for other ideas using similar ingredients, check out my chicken and broccoli mini jerky treats—Buster loves those too!
Step-by-Step Instructions for Homemade Chicken and Broccoli Immune Support Kibbles
Okay, getting these **Homemade Chicken and Broccoli Immune Support Kibbles** right is all about the texture of the dough. Don’t worry if it seems sticky at first—we fix that with rolling and baking! Just follow these steps carefully, and you’ll end up with perfect, crunchy little nuggets. If you’ve ever made my chicken turmeric jerky before, this mixing stage feels very similar, just aiming for a stiffer clay!
Preparation and Mixing for Homemade Chicken and Broccoli Immune Support Kibbles
First things first, get that oven warmed up to 350°F (175°C). Lining your baking sheet securely with parchment paper is essential; trust me, scrubbing baked-on dog food is *not* how I want you spending your afternoon!
Now for the mixing bowl. Dump in your shredded chicken, your finely chopped steamed broccoli, the oat flour, applesauce, egg, and that melted coconut oil. You need to mix this, and I mean *mix* it, until it all comes together. It should look quite stiff—almost like playdough, but maybe a tiny bit sticker. If it feels too wet to handle, add just a smidge more oat flour until you feel like you could actually pick it up and roll it without it turning into a giant sticky mess.
Shaping and Baking Homemade Chicken and Broccoli Immune Support Kibbles
Once you have that stiff dough, dust your countertop lightly—just a whisper of flour—and roll that dough out. I aim for about 1/4 inch thick. Thickness really matters here for drying out evenly!
Then, grab your tiny cookie cutters. You can just use a knife and score them into little squares, but cutters make them look so much more official, like real kibble! Place them neatly on the lined sheet.
Bake them for about 20 to 25 minutes. They should look firm when you touch them tentatively. But here’s the real secret: when that time is up, turn the oven OFF completely, but leave the oven door slightly ajar. Let them sit in that residual heat for another 30 minutes. That crucial second bake is what dries them out perfectly and ensures long-term storage!
Tips for Perfect Homemade Chicken and Broccoli Immune Support Kibbles
Achieving that super dry, shelf-stable texture is the real goal here, otherwise, you just have soft dog biscuits, not kibble! My number one piece of advice is about that second bake. Don’t skip turning the oven off and leaving the door cracked. That slow, residual drying is non-negotiable if you want these **Homemade Chicken and Broccoli Immune Support Kibbles** to last.
Also, broccoli preparation matters! If your florets are barely steamed, they’ll fight you when rolling the dough and create little wet pockets. Make sure they are soft enough to actually chop down finely so they vanish into the matrix. I learned this the hard way when Buster kept spitting out chunky green bits!
If you have a tiny toy breed, roll the dough thinner than 1/4 inch—maybe 1/8 inch. For a big guy, you can afford to go a little thicker, like 3/8 inch. It just makes the final crunch last longer! We want them ready for storage, just like my chicken and pumpkin digestive toppers.

Storage and Making Ahead with Homemade Chicken and Broccoli Immune Support Kibbles
One of the absolute best things about baking dry kibbles, opposed to soft treats, is that you can make a huge batch and actually store them without worrying about them molding overnight! That’s huge for me because I hate making single batches.
Once your **Homemade Chicken and Broccoli Immune Support Kibbles** are totally cool—and I mean stone cold, not even remotely warm—you need to put them straight into an airtight container. I use big glass jars because they seal the best. You can keep them on your counter, in a cool, dark pantry or cupboard, for up to about one week. They should stay perfectly crunchy!
If you’re doing what I usually do and doubling or tripling the recipe, you’ll want to freeze them instead. Just pop the leftover cooled batch into a freezer-safe container or a heavy-duty zip-top bag. They keep beautifully in the freezer for nearly two months. Seriously, I just pull out what I need for the week!
Before you ever seal that jar or bag, you absolutely must check for any lingering moisture. This is my biggest trust tip for safety! If you think any batch feels even slightly soft, put them back in that turned-off oven for another 15 minutes. If you seal them when they are even a hair damp, you’re inviting mold, and we definitely don’t want that for our furry family members!
If you’ve got leftovers that you want to incorporate into other things, maybe try them crumbled up as toppings for wet food, kind of like my turkey pumpkin lean jerky recipe works well as a topper!
Ingredient Spotlight: The Immune Benefits in Homemade Chicken and Broccoli Immune Support Kibbles
I chose chicken as the base for these **Homemade Chicken and Broccoli Immune Support Kibbles** because you can’t beat lean protein for muscle maintenance and sustained energy. It’s the perfect foundation fuel!
As for the broccoli, well, that’s where the real immune punch comes in. It’s full of great vitamins that help keep their system running smoothly, which is why this recipe is designed as an immune boost topper or treat. Think of it as giving them a little wellness vacation every time they crunch down on a piece. If you are focusing heavily on immunity, you should also check out how I use ginger in my turkey and ginger immunity jerky recipe!

Frequently Asked Questions About Homemade Chicken and Broccoli Immune Support Kibbles
I get so many questions when I post these goodies online! Making homemade food means you sometimes have little questions popping up right before you hit the oven. Here are some of the things I hear most often regarding these **Homemade Chicken and Broccoli Immune Support Kibbles**.
Can I substitute the oat flour with something else?
That’s a great question! Oat flour is my favorite binder here because it’s easy on tummies and really helps that dry texture. If you absolutely have to swap it out, brown rice flour or chickpea flour generally work okay in terms of structure. However, I haven’t tested every single grain flour, so be aware you might need to adjust the liquid just a touch. If you try a substitution, let me know how your **Homemade Chicken and Broccoli Immune Support Kibbles** turn out!
How can I be 100% sure my kibbles are dry enough for storage?
This is the most important part, seriously! Don’t rely just on the toothpick test we use for cakes. When they come out of the oven at 25 minutes, they should feel firm. But the true test? Once they are completely cooled, pick one up and give it a little squeeze or try to crack it open. It should snap cleanly. If it bends or squishes at all, it still has moisture trapped inside. That’s why the 30-minute nap in the turned-off oven is key. They shouldn’t feel warm at all when you seal them up for storage.
Are these Homemade Chicken and Broccoli Immune Support Kibbles a complete meal replacement?
Absolutely not, and please don’t think of them that way! I really want to stress this point, especially since we included good protein and veggies. These are fantastic, wholesome *treats* or *toppers*. They are nutrient-dense snacks designed to supplement a balanced commercial diet or your existing homemade meal plan. They don’t contain the full vitamin and mineral profile a complete diet requires. For those looking for total meal replacement recipes, I suggest looking at my chicken and carrot fitness jerky blog post for inspiration on meal preparation!
What if my dog is sensitive to eggs?
Eggs are a great binder, but I totally get when an allergy pops up. If your dog can’t handle eggs, you can usually substitute the one egg with about two tablespoons of flaxseed meal mixed with three tablespoons of water—let it sit for five minutes until it gets gel-like. That makes a great flax egg substitute! You can read more about why sometimes we have to adapt recipes over on my About Us page.
Estimated Nutritional Data for Homemade Chicken and Broccoli Immune Support Kibbles
I know lots of you are tracking macros and making sure everything is balanced, just like I do! When I calculated the numbers for my **Homemade Chicken and Broccoli Immune Support Kibbles**, I gave them a good look over. Remember, these numbers are just guides based on the average raw ingredients before baking and will shift slightly based on how much water evaporates and exactly what cut of chicken you use.
These calculations are based on a serving size of about 1/4 cup of the final dried kibble. It’s just a snapshot, but I wanted you to have an idea of what you are putting into that adorable tummy!
- Calories: Right around 150 per serving. Not junk food calories, you know? Clean energy!
- Protein: About 12 grams. That lean chicken really packs a punch here.
- Fat: Roughly 6 grams. We kept this low by sticking to lean breast meat.
- Carbohydrates: We’re looking at about 15 grams, thanks mostly to the oat flour and applesauce.
- Fiber: A nice little boost of about 2 grams from our broccoli and oats.
- Sodium: Very low, around 50mg, because we aren’t adding any salt!
I also noted that the sugar content is minimal—only about 2 grams per serving. We are relying on the applesauce for sweetness, not processed junk. A big disclaimer, though: since we aren’t using lab-tested commercial ingredients, these figures are my best estimate. If your dog is on a very strict diet, you always want to confirm with your vet!
Share Your Homemade Chicken and Broccoli Immune Support Kibbles Experience
Well, that’s it! You’ve made it through the whole process of creating these wonderful **Homemade Chicken and Broccoli Immune Support Kibbles**. I seriously hope your dog—and you!—love them as much as Buster and I do.
Now, I really, *really* want to hear about it. Did they turn out crunchy enough? Did your dog inhale them before you could even get them into the storage jar? Don’t keep all that wonderful success (or any funny mishaps!) to yourself!
Please take a second to leave a star rating right down there—it helps other people who are nervous about making homemade food for their pups. And if you have time, drop a comment below telling me what your dog thought of their nutritious little crunchies. Was it an instant hit?
If you snapped a picture of your perfectly rolled dough or managed to get a cute action shot of your dog enjoying them, please share it on social media and tag me! Showing everyone how easy it is to provide such high-quality, immune-supporting snacks is what this is all about. If you ever need to reach out with a tricky question or just want to chat about substitutions, head over to my contact page!
Happy baking, and give those good dogs an extra head scratch from me!
Print
Homemade Chicken and Broccoli Immune Support Kibbles
- Total Time: 70 min
- Yield: Approximately 2 cups of kibble 1x
- Diet: Low Fat
Description
Simple recipe for making dry dog food kibbles at home with chicken and broccoli for immune support.
Ingredients
- 1 cup cooked, shredded chicken breast
- 1 cup finely chopped, steamed broccoli florets
- 1/2 cup oat flour
- 1/4 cup unsweetened applesauce
- 1 large egg
- 1 tablespoon coconut oil, melted
Instructions
- Preheat your oven to 350°F (175°C). Line a baking sheet with parchment paper.
- In a large bowl, combine the shredded chicken, chopped broccoli, oat flour, applesauce, egg, and melted coconut oil. Mix until a stiff dough forms.
- On a lightly floured surface, roll the dough out to about 1/4 inch thickness.
- Use a small cookie cutter or knife to cut the dough into small, kibble-sized shapes.
- Place the shapes on the prepared baking sheet.
- Bake for 20 to 25 minutes, or until the kibbles are firm and dry to the touch.
- Turn off the oven and leave the kibbles inside with the door slightly ajar for another 30 minutes to dry out completely.
- Cool completely before storing.
Notes
- Store the finished kibbles in an airtight container in a cool, dry place for up to one week.
- For longer storage, freeze the kibbles for up to two months.
- Adjust the size of the cuts based on the size of your dog.
- Prep Time: 15 min
- Cook Time: 55 min
- Category: Pet Food
- Method: Baking
- Cuisine: American
Nutrition
- Serving Size: 1/4 cup
- Calories: 150
- Sugar: 2
- Sodium: 50
- Fat: 6
- Saturated Fat: 3
- Unsaturated Fat: 3
- Trans Fat: 0
- Carbohydrates: 15
- Fiber: 2
- Protein: 12
- Cholesterol: 40
Keywords: dog food, homemade kibble, chicken, broccoli, immune support, healthy dog treats