
You know those moments when you just need a little something to power you through the afternoon slump or fuel your next adventure? Store-bought jerky is okay, but honestly, it can be pricey and sometimes loaded with stuff you can’t even pronounce! That’s where my obsession with homemade jerky comes in. And let me tell you, this Chicken Coconut Energy Jerky is my absolute go-to. It’s got this amazing savory-sweet thing going on with just a hint of tropical goodness from the coconut aminos. I started making this recipe ages ago when I was training for a half-marathon and needed super clean energy snacks that weren’t super complicated to make. Trust me, once you try this, you’ll be hooked!
Why You’ll Love This Chicken Coconut Energy Jerky
Seriously, this jerky is a total game-changer! Here’s why it’s earned a permanent spot in my snack rotation:
- Super Simple to Make: You only need a handful of ingredients and a bit of patience. No fancy equipment needed!
- Healthy Energy Boost: Packed with protein from the chicken and natural goodness from the coconut aminos, it keeps you full and focused without the sugar crash.
- Delicious Flavor: That perfect balance of savory, sweet, and a tiny tropical twist from the coconut aminos? It’s addictive!
- Customizable Texture: Want it chewy? Bake it a little less. Like it super firm? Go a bit longer. You’re the boss!
- Better Than Store-Bought: You control exactly what goes in, so you know it’s wholesome and delicious. Plus, it’s way more budget-friendly!
- Versatile Snack: Perfect for post-workout fuel, hiking trips, or just munching on when you need a satisfying bite.
Ingredients for Chicken Coconut Energy Jerky
Getting this tasty jerky made is surprisingly easy, and it all starts with simple, good-for-you ingredients. You really only need a few things to make magic happen:
- 1 pound boneless, skinless chicken breast: This is your protein powerhouse! Make sure it’s nice and trimmed.
- 1/4 cup coconut aminos: My secret weapon! This gives you that savory, slightly sweet, umami flavor without the soy. It’s fantastic.
- 1 tablespoon honey: Just a touch to round out the sweetness. You can use maple syrup too if you like!
- 1 teaspoon grated fresh ginger: Don’t skip the fresh ginger! It adds this amazing zing that brightens everything up. Make sure it’s finely grated.
- 1/2 teaspoon garlic powder: For that classic savory depth every good jerky needs.
- 1/4 teaspoon red pepper flakes: This is optional, but I love the little kick it gives! It’s not super spicy, just a nice warmth.
Essential Equipment for Making Chicken Coconut Energy Jerky
Okay, so you don’t need a whole professional kitchen for this jerky! Just a few basic things will do the trick. You’ll definitely want a good, sharp knife and a sturdy cutting board for slicing the chicken nice and thin. A mixing bowl is key for getting that marinade all mixed up and coating the chicken. Then, you’ll need a couple of baking sheets – I usually use two so the chicken isn’t crowded. Parchment paper is a lifesaver for easy cleanup! And finally, a wire rack for cooling and an airtight container to keep your delicious jerky fresh.
Step-by-Step Guide to Perfect Chicken Coconut Energy Jerky
Alright, let’s get down to business! Making this Chicken Coconut Energy Jerky is super straightforward, and honestly, a little bit fun. Just follow these steps and you’ll have yourself some seriously delicious homemade jerky.
Preparing the Chicken and Marinade
First things first, grab your chicken breasts. You want to slice them thinly – think about 1/8-inch thick, against the grain if you can see it. This makes the jerky tender when you chew it. While your chicken is waiting, whisk together the coconut aminos, honey (or maple syrup!), that zingy grated ginger, garlic powder, and those optional red pepper flakes in a bowl. Make sure it’s all combined nicely.
Marinating for Flavor Infusion
Now, toss those chicken slices into that flavorful marinade. Give everything a good stir to make sure every single piece is coated in that yummy goodness. You can let it marinate for at least 30 minutes, but if you have the time, pop it in the fridge for up to 2 hours. This is where all that fantastic flavor really soaks in!

Baking the Chicken Coconut Energy Jerky
Time to bake! Preheat your oven super low, to about 170°F (77°C). TRUST me, low and slow is the name of the game here. Line a couple of baking sheets with parchment paper – this is a lifesaver, trust me. Carefully lay out your marinated chicken slices in a single layer. Don’t let them overlap, or they won’t dry out properly. Pop them in the oven and let them bake for about 4 to 6 hours. About halfway through, give ’em a flip so they dry evenly. You’re looking for that perfect leathery, dry texture. Remember, oven temperatures can vary, so keep an eye on it after the 4-hour mark. If you want chewier jerky, pull it out a bit sooner. If you like it crispier, let it go a little longer. It’s totally up to you and how you like your delicious chicken jerky!
Cooling and Storing Your Homemade Jerky
Once it looks and feels just right – dry and leathery, but not brittle – take the baking sheets out of the oven. Carefully transfer the jerky to a wire rack to cool completely. This part is crucial; getting it totally cool means it won’t get soggy when you store it. After it’s cooled down, pop it into an airtight container or a zip-top bag. This keeps it fresh and ready for action!
Tips for Making the Best Chicken Coconut Energy Jerky
Okay, so you’ve got the basic idea, but let me give you a few insider tricks I’ve picked up to make your Chicken Coconut Energy Jerky truly amazing. These little tips make all the difference!
First off, slicing the chicken is key. If you can get it partially frozen, it’s SO much easier to get those thin, even slices. I’m talking about 1/8 to 1/4 inch thick tops. Too thick and it’ll take forever to dry out, too thin and it can get too crispy. Also, make sure you’re slicing *against* the grain. You can usually see the lines in the meat; cutting across those lines makes for a much more tender jerky. Trust me on this one!
When it comes to the marinade, don’t be afraid to play around! If you don’t have coconut aminos, soy sauce or tamari are fine substitutes, but you might need to adjust the sweetness a bit. And that ginger? If you can’t grate fresh, about half a teaspoon of ground ginger will work in a pinch, but fresh just has this brighter kick that’s worth seeking out. For the heat, red pepper flakes are optional, but they really do add a nice little warmth that sneaks up on you. You can also add a pinch of black pepper for extra flavor.
Checking for doneness is more art than science, honestly. You want it firm and leathery, not sticky or wet. If you bend a piece, it should crack slightly but not snap. If it snaps, it’s overbaked. If it still feels squishy, give it more time. My other jerky recipes often talk about different textures, and it’s the same here – a bit longer for crispy, a bit less for chewy. Just keep an eye on it, especially towards the end of baking, because ovens can be finicky. For best results, I always recommend getting your jerky completely cool on a wire rack before you store it. This prevents any moisture build-up.
Ingredient Notes and Substitutions for Your Jerky
Let’s talk ingredients for a sec! Sometimes you might not have exactly what the recipe calls for, and that’s totally fine. The beauty of homemade jerky is you can absolutely make it work with what you’ve got.
Coconut aminos are my secret weapon here, giving that savory-sweet, umami kick without soy. But hey, if you can’t find them, don’t sweat it! Regular soy sauce or tamari (if you need gluten-free besides the chicken itself) work just as well. You might just need to play with the honey a tiny bit, as soy sauce can be saltier. Speaking of honey, pure maple syrup is a fantastic substitute if you don’t have honey on hand!
And those red pepper flakes? Totally optional! If you’re sensitive to heat, just leave ’em out, and your jerky will still be delicious. If you want extra spice, add a tiny bit more. It’s all about making it perfect for YOU!
Frequently Asked Questions About Chicken Coconut Energy Jerky
Got questions about whipping up your own batch of this super tasty Chicken Coconut Energy Jerky? I hear ya! It’s pretty straightforward, but sometimes little things pop into your head. Here are a few common ones I get:
Can I make this jerky in a dehydrator instead of the oven?
Absolutely! Dehydrators are actually fantastic for jerky. Just follow the same prep and marinating steps. Then, spread the chicken slices on your dehydrator trays, making sure they aren’t touching. Set your dehydrator to around 160°F (71°C) and let it run for about 4-6 hours, or until it reaches that perfect dry, leathery texture. Flip them halfway through for even drying!
How long does homemade jerky last?
Great question! If you store it properly in an airtight container or a good quality zip-top bag, your Chicken Coconut Energy Jerky will last at room temperature for about 2 weeks. If you live in a really humid climate or want it to keep even longer, popping it in the refrigerator is a good bet. You can learn more about food storage on our About page, but for jerky, it can last a good month or more in there!
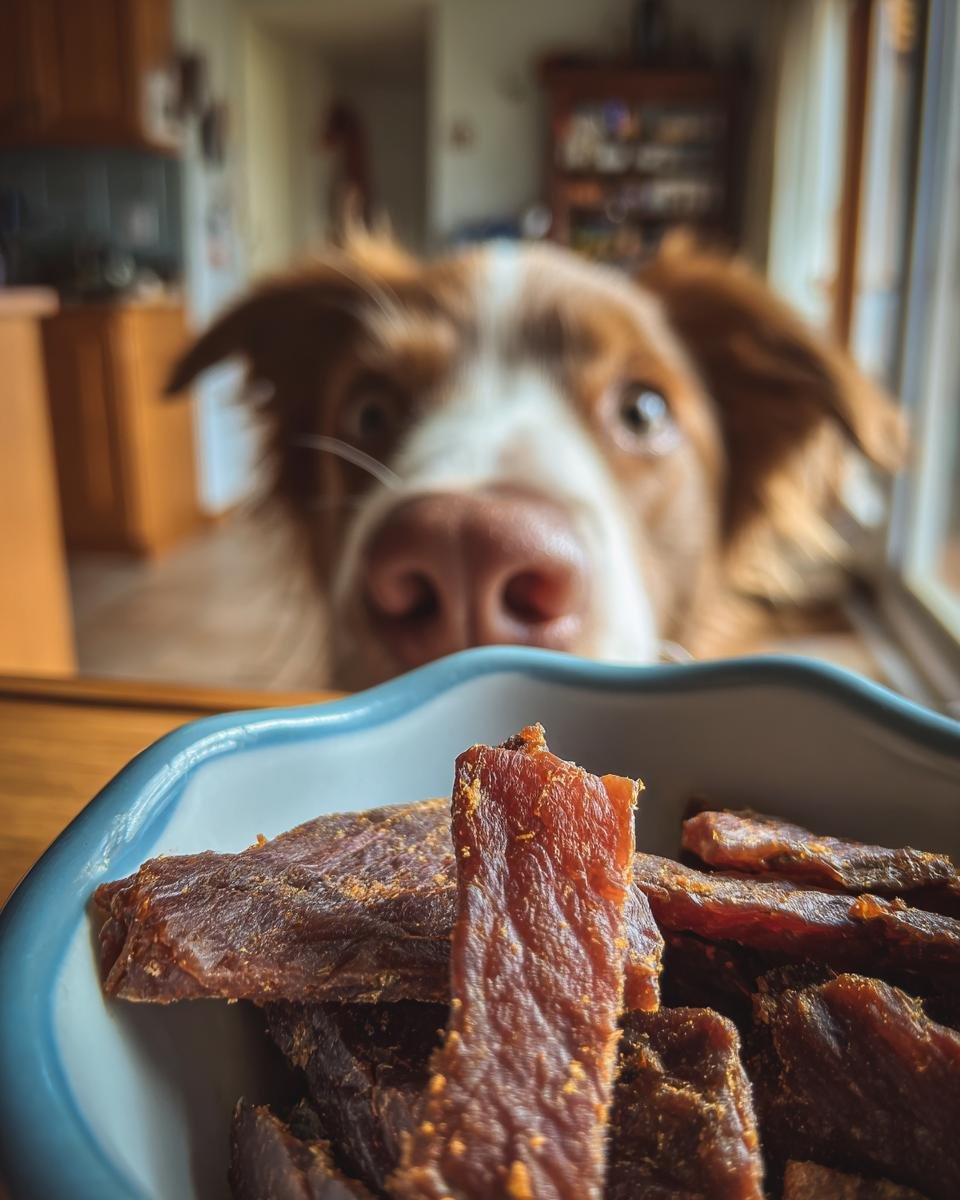
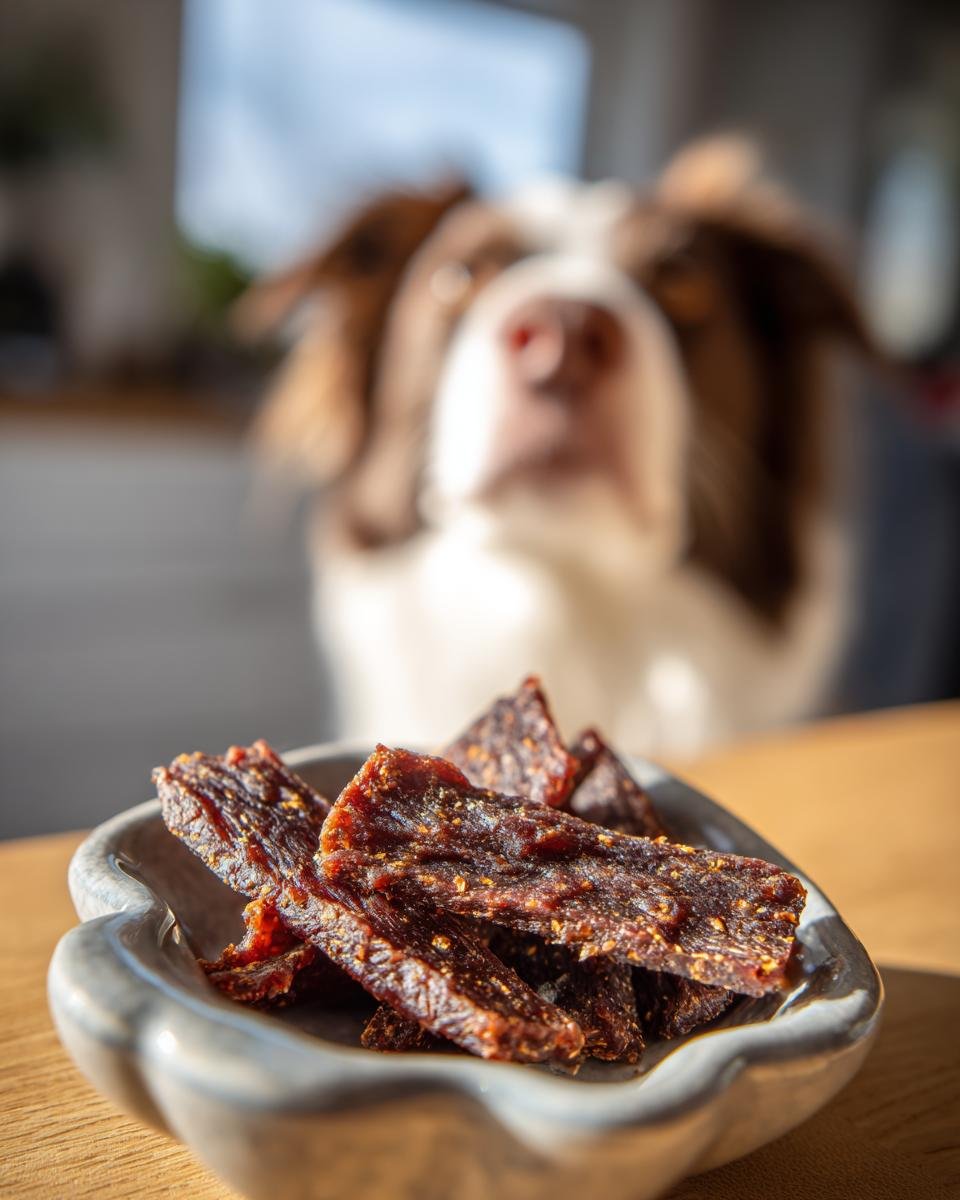
Is this recipe safe for my dog?
While the chicken itself is fine for dogs, I always recommend being super cautious with homemade jerky for your furry friends. This recipe has seasonings like ginger and red pepper flakes that might not agree with all dogs. Plus, the coconut aminos and honey add sugars that aren’t ideal for their diet in these quantities. If you want to make jerky specifically for your dog, it’s best to look up a recipe designed just for them, using plain chicken and no extra seasonings. If you’re unsure about making homemade treats, don’t hesitate to contact us for advice!

What if my jerky feels too dry or too chewy?
No worries, it’s easy to adjust! If your jerky feels too dry and snaps when you bend it, you probably baked it a little too long. Next time, just shave off an hour or so from the baking time. If it’s too chewy and still feels a bit squishy or bendy without much crack, it needs a bit more time in the oven. Just keep an eye on it and test a piece every 30 minutes until it feels perfectly leathery. That sweet spot is key!
Nutritional Information (Estimated)
Alright, let’s talk numbers! Keep in mind these are just estimates, because honestly, nobody’s weighing things down to the microgram in my kitchen! This is based on a typical serving size of about one ounce of your delicious Chicken Coconut Energy Jerky. You’ll get around 90 calories per ounce, with about 12 grams of protein to keep you full. It’s pretty low in fat and carbs, with just a few grams of sugar from the honey and coconut aminos. Pretty clean fuel, right?
Share Your Chicken Coconut Energy Jerky Creations!
I just LOVE hearing from you all! If you make this Chicken Coconut Energy Jerky, please, please share your experience! Did you tweak the marinade? Try a different meat? Did your family devour them in minutes? Tell me all about it in the comments below! And if you snap a pic, tag me on social media – I’d be thrilled to see your awesome creations. Maybe check out my other jerky recipes or some other healthy snacks while you’re here!
Print
Chicken Coconut Energy Jerky
- Total Time: 6 hours 15 min
- Yield: About 1/2 pound 1x
- Diet: Gluten Free
Description
A simple recipe for homemade chicken and coconut jerky, providing a healthy energy boost.
Ingredients
- 1 pound boneless, skinless chicken breast
- 1/4 cup coconut aminos
- 1 tablespoon honey
- 1 teaspoon grated fresh ginger
- 1/2 teaspoon garlic powder
- 1/4 teaspoon red pepper flakes
Instructions
- Slice chicken breast thinly against the grain.
- In a bowl, whisk together coconut aminos, honey, ginger, garlic powder, and red pepper flakes.
- Add chicken slices to the marinade, ensuring each piece is coated. Marinate for at least 30 minutes, or up to 2 hours in the refrigerator.
- Preheat your oven to 170°F (77°C). Line baking sheets with parchment paper.
- Arrange chicken slices in a single layer on the prepared baking sheets.
- Bake for 4-6 hours, or until the jerky is dry and leathery. Flip the jerky halfway through the baking time.
- Let the jerky cool completely on a wire rack before storing.
Notes
- For a chewier jerky, bake for a shorter time. For a crispier jerky, bake for longer.
- Store the jerky in an airtight container at room temperature for up to 2 weeks, or in the refrigerator for longer storage.
- Prep Time: 15 min
- Cook Time: 4-6 hours
- Category: Snack
- Method: Baking
- Cuisine: American
Nutrition
- Serving Size: 1 ounce
- Calories: 90
- Sugar: 4g
- Sodium: 250mg
- Fat: 2g
- Saturated Fat: 1g
- Unsaturated Fat: 1g
- Trans Fat: 0g
- Carbohydrates: 5g
- Fiber: 0g
- Protein: 12g
- Cholesterol: 30mg
Keywords: chicken jerky, coconut jerky, energy jerky, homemade jerky, healthy snack, protein snack, gluten free jerky