
Okay, I get it. Finding snacks that are actually good for you *and* taste amazing can feel like a quest for the Holy Grail, right? That’s exactly why I whipped up this Chicken Butternut Fuel Jerky. Seriously, it’s a total game-changer! I was tired of super-salty, overly processed jerky, so I wanted something packed with good stuff that would actually keep me going. This recipe marries tender chicken with the subtle sweetness and nutrients of butternut squash, making it a powerhouse snack that actually satisfies. I first made this for myself after a long hike, and let me tell you, it was pure bliss!
Why You’ll Love This Chicken Butternut Fuel Jerky
Trust me, this jerky is a winner for so many reasons!
- Super Easy to Make: Seriously, you just mix and let time do the work.
- Packed with Protein: Perfect for refueling after workouts or just a mid-afternoon boost.
- Naturally Sweet & Savory: The butternut squash adds this amazing, subtle sweetness that balances the chicken beautifully.
- Nutrient-Dense: Get your vitamins from the squash along with that protein punch!
- Diet-Friendly: It’s naturally gluten-free, so a lot of people can enjoy it.
- Kid-Approved: Mine actually gobble this up – and I feel good about them eating it!
Ingredients for Your Chicken Butternut Fuel Jerky
Alright, let’s talk about what you’ll need to whip up this fantastic jerky! It’s pretty straightforward, and you might even have most of it in your pantry already.
Here’s the rundown:
- 1 pound boneless, skinless chicken breast, sliced nice and thin against the grain. This is key for tender jerky!
- 1 cup butternut squash puree. Make sure it’s unsweetened, or it’ll throw off the flavor balance.
- 2 tablespoons soy sauce. This adds that savory, umami kick we all love.
- 1 tablespoon honey. Just a touch for that little bit of sweetness and helps with that chewy texture.
- 1 teaspoon smoked paprika. This gives it a lovely subtle smokiness.
- 1/2 teaspoon garlic powder. Because garlic makes everything better, right?
- 1/4 teaspoon black pepper. Just a pinch to round it all out.
See? Nothing too crazy! These simple ingredients come together to make something seriously delicious.

Essential Equipment for Making Chicken Butternut Fuel Jerky
You don’t need anything super fancy to make this delicious jerky! Most kitchens have what you’ll need. You’ll definitely want a sharp knife for slicing that chicken thinly – against the grain is key, remember? A good cutting board is a must, too. Then, you’ll need a medium-sized bowl for mixing up that amazing marinade. After that, it’s either a baking sheet lined with parchment paper for the oven or trays for your dehydrator. Easy peasy!
How to Prepare Perfect Chicken Butternut Fuel Jerky
Alright, let’s get down to making this amazing Chicken Butternut Fuel Jerky! It’s not complicated, I promise. Think of it like a little project, and the reward is a super tasty, healthy snack. We’ll get everything prepped, marinated, and then let the magic happen in the oven or dehydrator. It’s all about patience and letting those flavors meld!
Preparing the Marinade for Your Chicken Butternut Fuel Jerky
First things first, let’s whip up that flavor-packed marinade. Grab your medium bowl and toss in the butternut squash puree. Then, add your soy sauce – this is where that savory goodness comes from! Arizzle of honey for a touch of sweetness, smoky paprika for that yummy campfire vibe, garlic powder because, well, garlic! And finally, a little black pepper. Give it all a good whisk until it’s nice and smooth. It should look like a beautiful, creamy, sort of orangey-brown sauce. Smells good already, right?
Marinating the Chicken for Optimal Flavor
Okay, now for the chicken! Make sure those slices are nice and thin – I like to say about 1/4 inch thick. Pop all those chicken pieces into the bowl with the marinade. Use your hands (clean hands, obviously!) or a spoon to make sure every single piece gets coated. You want that marinade to really cling to the chicken. Once it’s all nicely coated, cover the bowl tightly with plastic wrap. Pop it into the fridge and let it hang out for at least 4 hours. But honestly, overnight is even better! Giving it that extra time lets all those yummy flavors really soak in and makes your Chicken Butternut Fuel Jerky taste incredible.
Drying and Finishing Your Chicken Butternut Fuel Jerky
Now for the drying part! Preheat your oven to a low 170°F (77°C), or if you’ve got a dehydrator, set it to the right temp (usually around 160°F). If you’re using the oven, line a baking sheet with parchment paper. Lay out your marinated chicken pieces in a single layer. Don’t let them touch! This is crucial so they dry evenly. You’ll bake or dehydrate these for about 4 to 6 hours. The exact time can change depending on how thick you sliced your chicken and how humid it is, so keep an eye on them! You’re looking for that dry, leathery texture – it should bend but not break. Once they look good and done, take them out and let them cool completely on a wire rack. This cooling process helps them finish hardening up. You can check another recipe here for comparison.
Tips for Making the Best Chicken Butternut Fuel Jerky
Alright, you’ve got the basic idea, but let me share a few little secrets that I’ve picked up along the way to make your Chicken Butternut Fuel Jerky absolutely perfect. These little things really make a difference!
- Slice It Thin and Even: Honestly, this is maybe the most crucial tip. If your chicken slices are all different thicknesses, some will dry out too fast while others are still gummy. Use a super sharp knife and try to keep those slices around 1/4 inch. We’re all about that consistent texture here!
- Don’t Skimp on Marinating Time: I know it’s tempting to just throw it in and pull it out after a couple of hours, but trust me on this one. Marinating overnight is where the real magic happens for your Chicken Butternut Fuel Jerky. It imbues every fiber with that amazing squash and spice flavor, making it SO much tastier than a quick dip.
- Watch for That Perfect Texture: Jerky is a funny thing – it’s not quite done when it bends, but it’s overdone if it snaps. You’re aiming for something that’s pliable and leathery. If it feels too soft, leave it in for another 30 minutes to an hour. Better to be a little too dry than too chewy and wet! You can always find more great ideas right here.
- Cool Down is Key: Once your jerky is out of the oven or dehydrator, resist the urge to bag it up right away! Letting it cool completely on a wire rack allows it to firm up perfectly. Trapping steam will make it soggy, and nobody wants soggy jerky.

Ingredient Notes and Substitutions
So, let’s chat about these ingredients for your Chicken Butternut Fuel Jerky! The butternut squash puree might sound a little unusual, but trust me, it’s the secret sauce (literally!) for a tender, nutrient-rich jerky. Make sure you’re using plain, unsweetened puree – the stuff for baby food or just plain cooked and mashed squash works perfectly. If you absolutely can’t find butternut squash, you *could* try sweet potato puree, though the flavor will be a little different.
For the soy sauce, feel free to swap in tamari if you’re going gluten-free, or even coconut aminos for a slightly different flavor profile. And the honey? A tiny bit of maple syrup could work in a pinch, but honey really helps get that perfect chewy texture we’re after.
Storing and Reheating Your Chicken Butternut Fuel Jerky
Once your amazing Chicken Butternut Fuel Jerky is all cooled down, you’ll want to store it properly so it stays delicious. The best way is in an airtight container. I usually use a good old zip-top bag or a reusable container with a tight lid. Keep it at room temperature, and it should stay good for about two weeks. If you want it to last even longer, pop it in the fridge – it can live happily there for a good month or more!
And honestly, reheating isn’t really a thing for jerky. It’s meant to be enjoyed right out of the container, whether it’s room temp or straight from the fridge. So easy!
Frequently Asked Questions About Chicken Butternut Fuel Jerky
Got questions about making or enjoying this awesome Chicken Butternut Fuel Jerky? I get it! It’s a little different from your standard store-bought stuff, so here are some things folks often ask me.
Can I use a different type of meat for this jerky?
You bet! While chicken breast is my go-to because it’s lean and takes on flavor so well, you can totally use other lean meats. Think turkey breast – it works almost exactly the same. Some folks have even had success with venison or lean beef cuts, just be sure they’re sliced nice and thin!
How long does this Chicken Butternut Fuel Jerky last?
This is why making your own is so great! Stored in an airtight container at room temperature, it’ll be good for about two weeks. If you want it to last even longer, just pop it in the fridge, and it’ll easily keep for a month or more. Because it’s dried properly, it has a great shelf life!
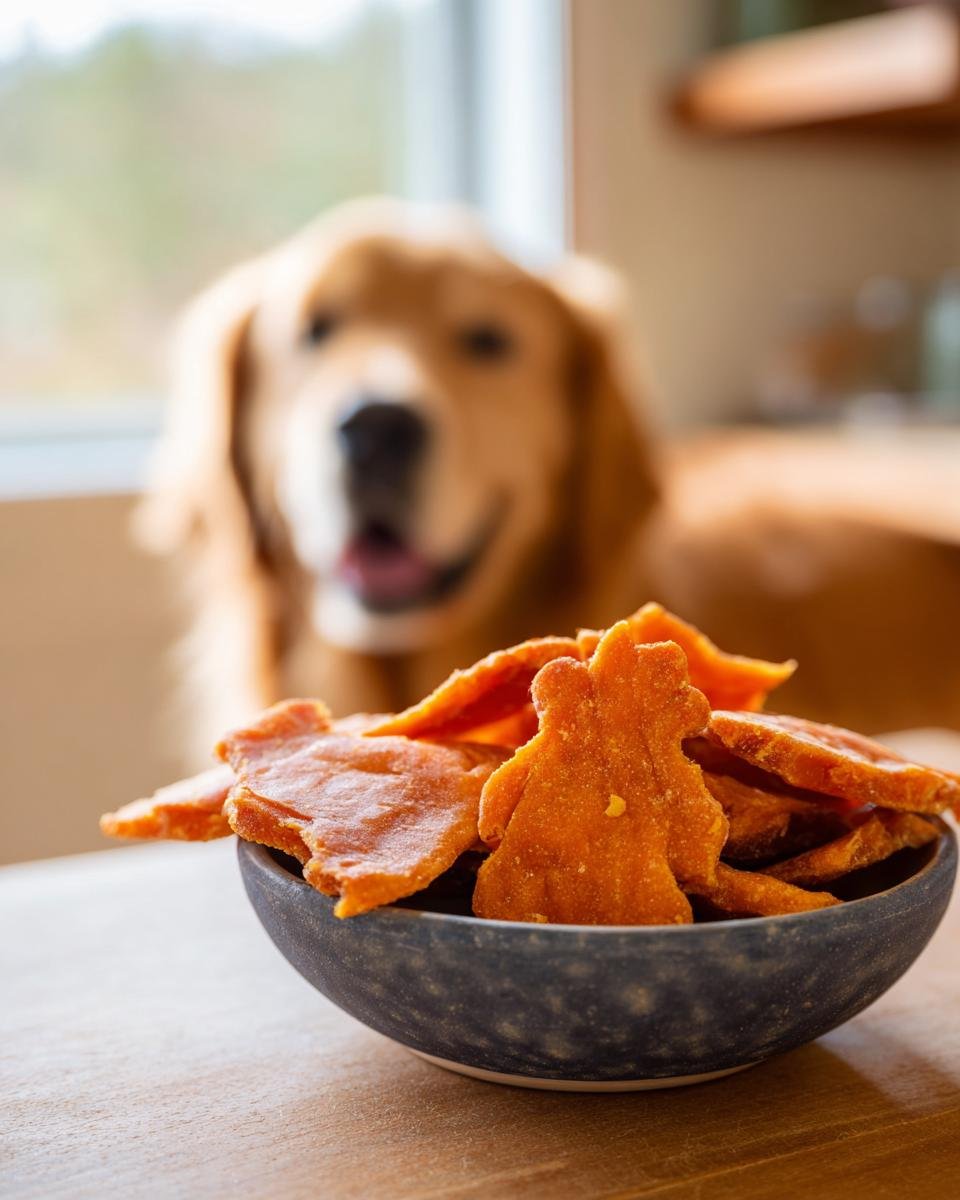
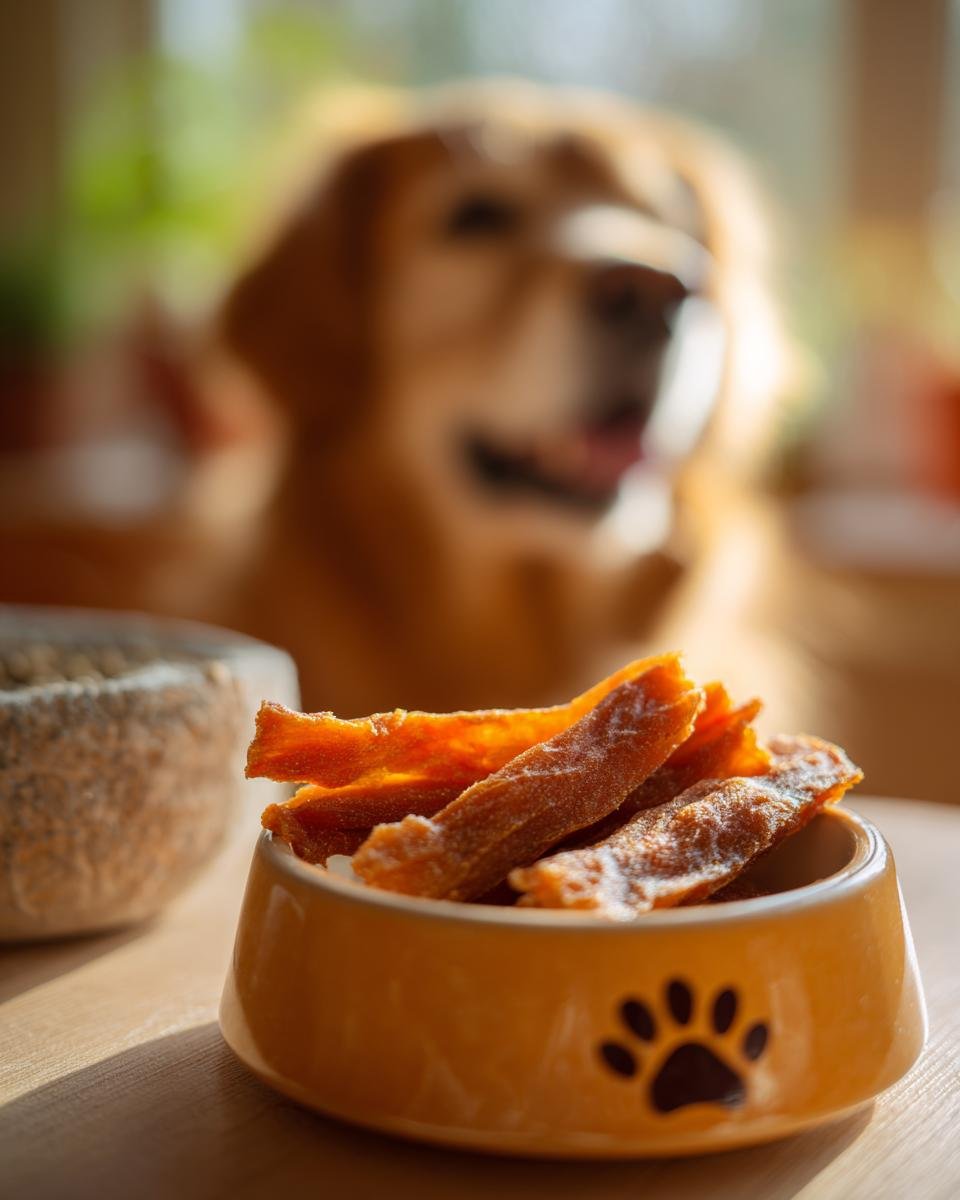
Is this jerky recipe suitable for dogs?
That’s a great question! While dogs often LOVE jerky, this specific recipe has honey and soy sauce, which aren’t ideal for them in larger quantities. If you’re looking to make jerky just for your furry friends, I’d recommend sticking to plain, unseasoned meat or checking out recipes specifically designed for dogs. You can reach out here if you have more specific pet-related questions, or look into something like golden paste for dogs instead.
Why is my jerky still soft and not drying properly?
Oh, that’s usually down to a couple of things! Make sure your oven or dehydrator temperature is correct and consistent. Also, ensure your slices were even and not too thick to begin with. If the slices were too close together on the tray, they wouldn’t get enough air circulation. Sometimes, it just needs a little more time – keep an eye on it and let it dry until it reaches that leathery, bendable texture!
Nutritional Information Estimate
Just a heads-up, this is an estimate, okay? The exact numbers for your Chicken Butternut Fuel Jerky can change a bit depending on the brands you use and precisely how much of everything goes in. But generally, when you’re looking at about a 1-ounce serving (that’s roughly a couple of strips), you’re getting around 100 calories. It’s packed with about 12 grams of protein, which is fantastic for a snack, and it’s pretty low in fat at around 2 grams. You’ll also get about 8 grams of carbs, with a little bit of fiber in there too.
Print
Chicken Butternut Fuel Jerky
- Total Time: 4 hours 20 minutes
- Yield: Approximately 1/2 pound 1x
- Diet: Gluten Free
Description
A savory and nutrient-dense jerky made with chicken and butternut squash.
Ingredients
- 1 pound boneless, skinless chicken breast
- 1 cup butternut squash puree
- 2 tablespoons soy sauce
- 1 tablespoon honey
- 1 teaspoon smoked paprika
- 1/2 teaspoon garlic powder
- 1/4 teaspoon black pepper
Instructions
- Slice chicken breast thinly against the grain.
- In a bowl, combine butternut squash puree, soy sauce, honey, smoked paprika, garlic powder, and black pepper.
- Add chicken slices to the marinade and toss to coat evenly.
- Cover and refrigerate for at least 4 hours, or preferably overnight.
- Preheat your oven to 170°F (77°C) or set your dehydrator to the appropriate temperature.
- Arrange chicken slices in a single layer on a baking sheet lined with parchment paper or on dehydrator trays.
- Bake or dehydrate for 4-6 hours, or until the jerky is dry and leathery.
- Let the jerky cool completely before storing.
Notes
- For a spicier jerky, add a pinch of cayenne pepper to the marinade.
- Ensure chicken is sliced uniformly for even drying.
- Store jerky in an airtight container at room temperature for up to 2 weeks, or refrigerate for longer storage.
- Prep Time: 20 minutes
- Cook Time: 4-6 hours
- Category: Snack
- Method: Dehydrating
- Cuisine: American
Nutrition
- Serving Size: 1 ounce
- Calories: 100
- Sugar: 5g
- Sodium: 250mg
- Fat: 2g
- Saturated Fat: 0.5g
- Unsaturated Fat: 1.5g
- Trans Fat: 0g
- Carbohydrates: 8g
- Fiber: 1g
- Protein: 12g
- Cholesterol: 30mg
Keywords: chicken jerky, butternut squash jerky, healthy snack, protein snack, homemade jerky, gluten free jerky