
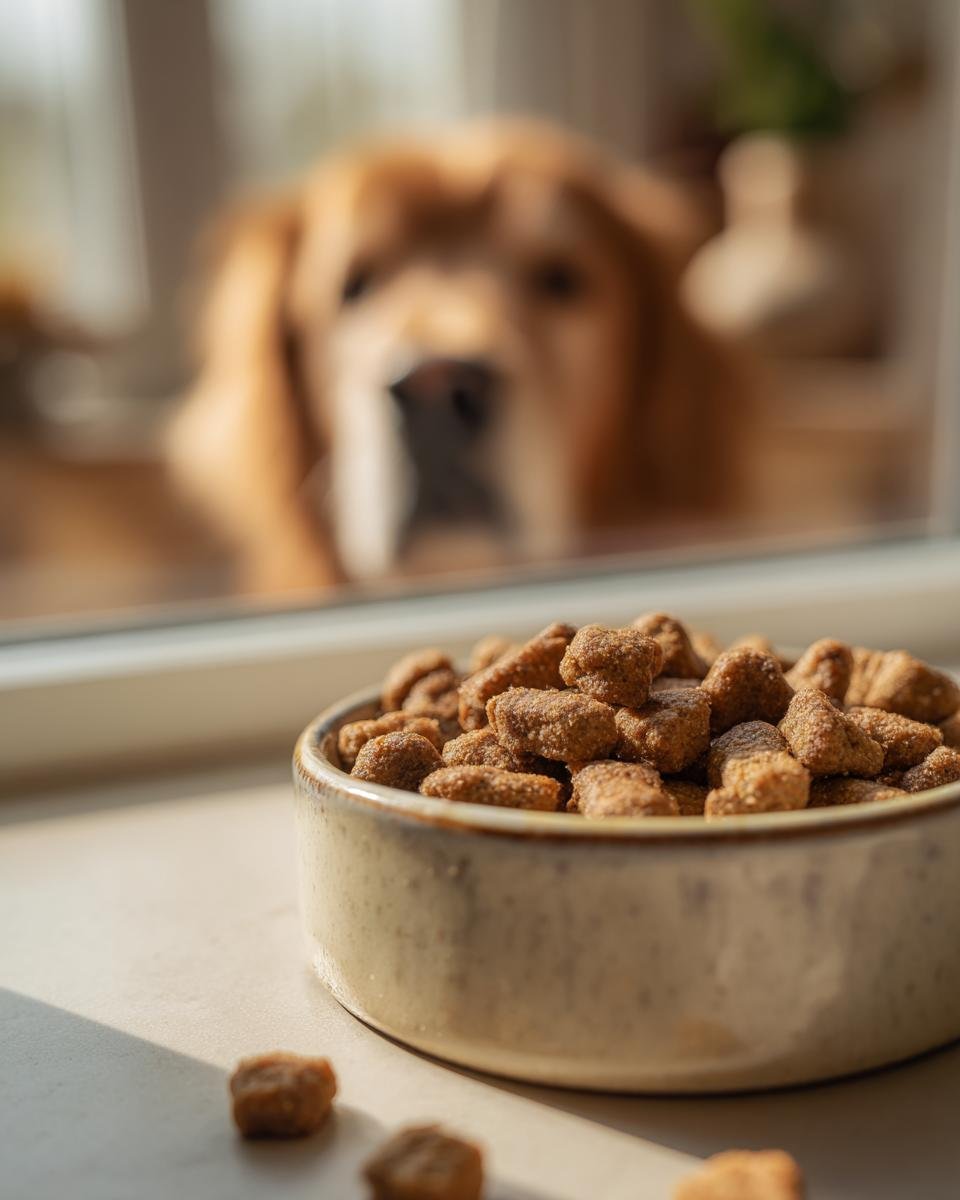
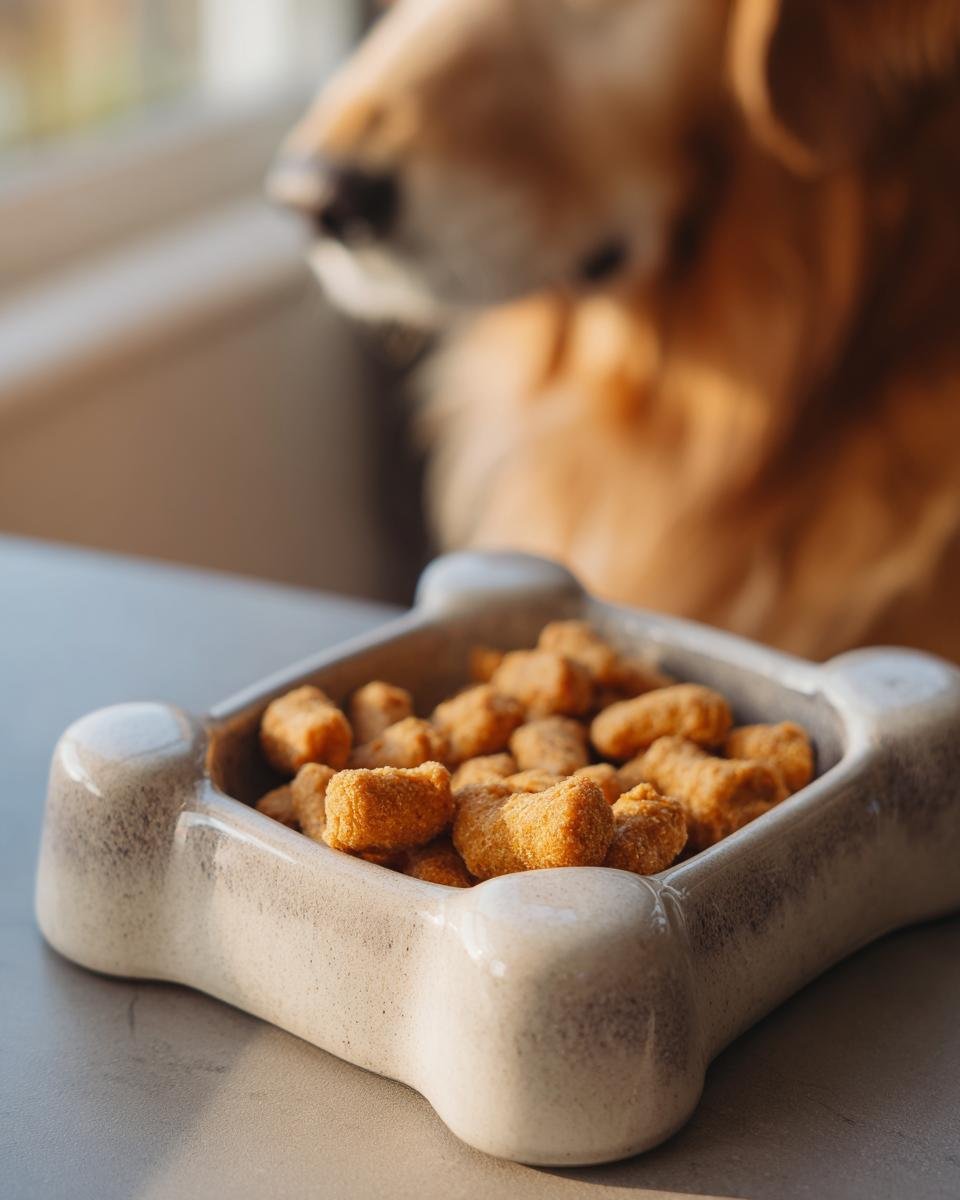
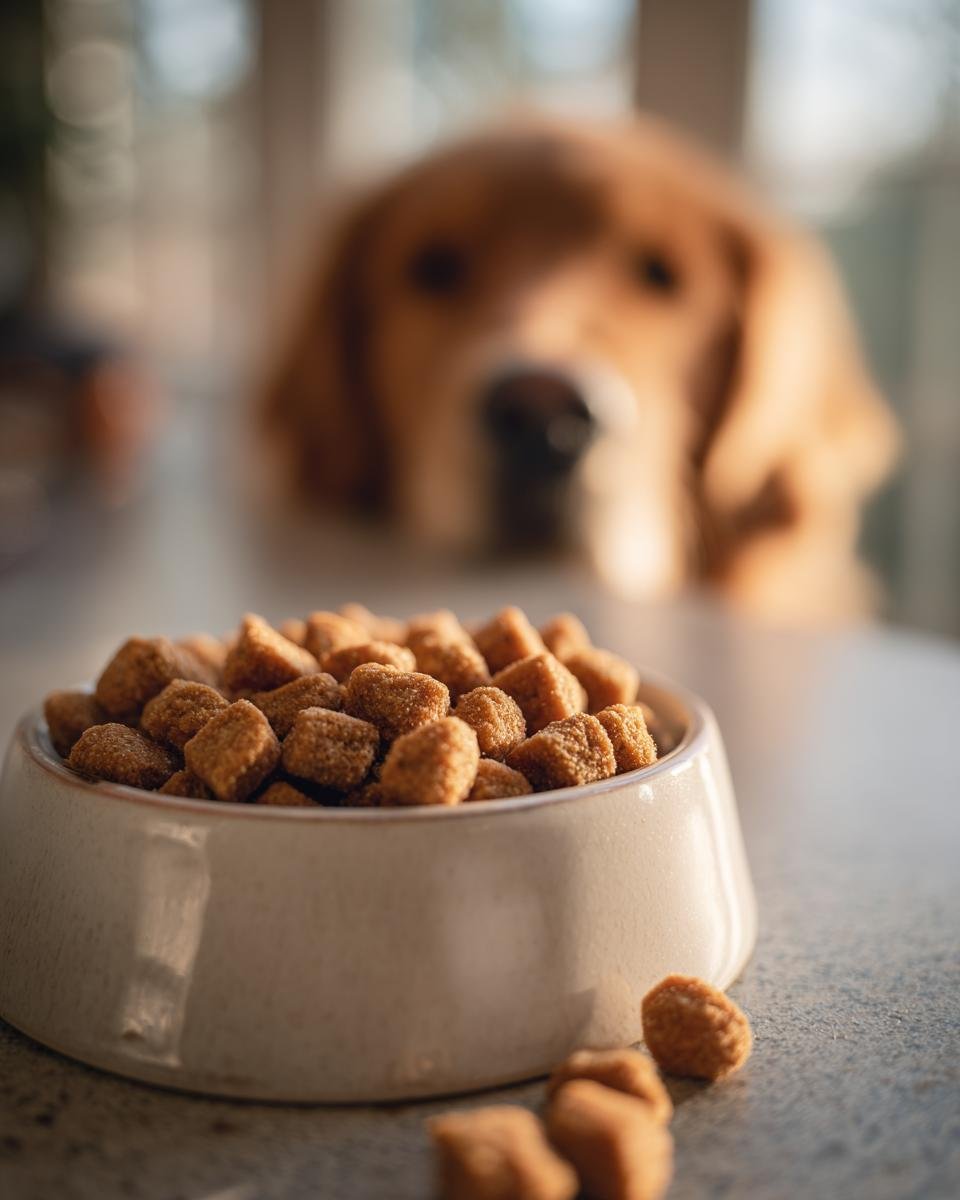
Look, I’m obsessed with making sure my dog, Buster, gets the absolute best fuel, and frankly, reading those ingredient labels at the store just sends me into a spiral. That’s exactly why I perfected these Homemade Crunchy Chicken Veggie Mini Kibbles. They are small, they are ridiculously crunchy, and they are packed solid with real, recognizable chicken and garden vegetables. I started mixing these up because I needed total control over the sodium and fillers. Trust me, rolling out this dough and cutting those tiny shapes is incredibly satisfying. These little crunch bombs are a game-changer for daily meals and training sessions!
Why You Should Make Homemade Crunchy Chicken Veggie Mini Kibbles
Honestly, once you see how simple this is, you won’t go back to the bag. Making these ourselves means we know *exactly* what our pups are eating. No scary additives or weird fillers ever sneak in! I love knowing Buster is getting lean protein and real veggies in every single bite. Plus, the crunch factor is huge—it keeps his teeth happy! If you want the best for your best friend, you need to try these homemade dog treats.
- Total ingredient control—no mystery meats or artificial colors!
- Perfectly crunchy texture that holds up well during baking.
- Packed with lean protein from real chicken breast.
- You sneak in those good-for-you veggies like carrots and sweet potato.
Essential Ingredients for Homemade Crunchy Chicken Veggie Mini Kibbles
Okay, gathering ingredients is half the fun! When I first tried this recipe, I made sure everything was pre-cooked following my standard meal prep routine—it saves so much time later. You need good quality stuff here because these kibbles are essentially small, sturdy little meals. The chicken has to be plain; no salt or spices, just nice, clean protein.
For the vegetable lineup, I use sweet potato because it acts as a wonderful binder and adds natural sweetness. Don’t skimp on the flour either; the combination of whole wheat and oat flour is what gives these their great structure, unlike some baked goods that turn out too crumbly. Ready to see the list? You’ll want to have everything measured out before you start, just like a real baker!
I’ve written out the whole list below. If you ever want to check out my other simple chicken recipes, my Chicken Carrot Fitness Jerky uses similar principles!
- 1 cup cooked, shredded chicken breast (make sure it’s cooled down!)
- 1/2 cup cooked sweet potato, mashed until perfectly smooth
- 1/4 cup cooked carrots, finely chopped – you really want them small so they distribute evenly.
- 1/4 cup cooked green beans, finely chopped
- 1 cup whole wheat flour (this gives the best overall crunch)
- 1/2 cup oat flour (adds softness so they don’t shatter)
- 1 large egg (this is our glue!)
- 1/4 cup water (we might tweak this depending on the mix, so keep it handy)
Step-by-Step Instructions to Create Homemade Crunchy Chicken Veggie Mini Kibbles
Okay, this is where the magic happens! Don’t stress about the number of steps; it’s really just mixing wet stuff, mixing dry stuff, and then combining them. The most important thing here is getting that dough thin enough so we achieve that perfect, small kibble size rather than thick, soft biscuits. Safety first—always make sure your chicken and veggies are completely cooled before mixing, or you’ll end up with cooked egg!
- First things first: blast that oven to 350°F (175°C). While it heats up, line up your baking sheets with parchment paper. This stops the dreaded sticking, which is the nemesis of all crunchy baking attempts!
- In your biggest bowl, toss in that lovely shredded chicken, the creamy sweet potato mash, the tiniest chopped carrots, and the green beans. Give it a good stir until everything looks friendly and mixed together.
- In a separate bowl—don’t skip this—whisk your whole wheat flour and oat flour. We want them well acquainted before they meet the wet ingredients.
- Time to introduce the egg and the water to your chicken blend. Gently stir it up until it just starts getting cohesive. Don’t overmix yet!
- Now, gradually add in that flour mixture. You’ll notice it getting stiff pretty quickly. At this point, I usually ditch the spoon and just use my hands to bring it all together into one solid, stiff dough ball.
- Take that dough onto a lightly floured surface. Here’s the deal: you need to roll it out super thin—aim for about 1/8 of an inch thick. Thicker means softer, and we are looking for crunch!
- Grab a tiny cookie cutter or, honestly, just use a butter knife if you want rustic shapes. Cut out your mini squares or circles. Remember, the smaller they are, the faster and crunchier they bake.
- Carefully move those little guys onto your parchment-lined sheets. Space them out just a tiny bit so air can circulate around them while they bake.
- Bake them for 15 to 20 minutes. You’ll be looking for them to feel firm when you gently press them.
- When they look ready, turn the oven OFF entirely! This is my biggest secret for next-level crunch: leave the kibbles in the oven with the door slightly ajar for another 30 minutes. This slow drying finishes them off perfectly. Check out these tips for mini jerky shapes—the principle is the same!
- Take them out and let them cool completely on a wire rack before you even think about storing them.

Expert Tips for Perfect Homemade Crunchy Chicken Veggie Mini Kibbles
Achieving that signature, satisfying crunch is seriously an art form, but once you nail the technique, you’ll be a pro! My number one piece of advice for the best texture is all about thickness. You absolutely must roll that dough thin—thinner than you think you should, seriously! If you roll it too thick, like maybe a quarter inch, you end up with a nice snack, yes, but not our super crunchy kibble.
I learned this the hard way about six months in. My first batch came out of the oven looking great, but the next morning, they were soft and chewy. Disaster! I realized I was pulling them out too soon, relying just on the initial 20 minutes. Now, I never skip that final ‘oven-off drying period.’ That slow heat surrender is what removes every last bit of internal moisture.
Also, watch your oven temperature closely. If your oven runs hot, those little pieces can brown too fast and taste burnt before they dry out. Keep an eye on them around the 15-minute mark. If you want more ideas on flavor pairings, check out my Chicken Apple Fresh Breath Jerky—it uses a similar low-and-slow concept!
Ingredient Notes and Substitutions for Homemade Crunchy Chicken Veggie Mini Kibbles
I know everyone has slightly different pantries, so let’s talk about making smart swaps in this recipe without ruining that crucial crunch! If you don’t have chicken on hand, you can absolutely sub in cooked, shredded turkey or even lean ground beef, just make sure it’s cooked plain and cooled. Think of it as using any lean protein source you have ready to go.
Now, about the flours. We use whole wheat flour because it has a bit more structure and gives these kibbles that sturdy, crackly bite we are aiming for. It’s vital for the crunch! If you’re worried about wheat, you can try substituting half the whole wheat with chickpea flour—it works well for structure, but you might need an extra teaspoon of water because it absorbs moisture differently. If you’re looking for turkey-based variations, I have a great Turkey Sweet Pea Light Jerky that you might enjoy checking out for inspiration!
For the veggies, if you are out of green beans, frozen peas work fine, but make sure they are boiled and mashed almost to a paste. Consistency in the vegetable mash really helps the dough hold together!
Storage and Shelf Life of Your Homemade Crunchy Chicken Veggie Mini Kibbles
This is one of the easiest parts, which is great after all that rolling and baking! Because we baked these Homemade Crunchy Chicken Veggie Mini Kibbles until they were super dry, they keep really well. You absolutely must make sure they are completely cool to the touch before you put them anywhere, otherwise, that trapped steam will soften them up instantly—and nobody wants a soggy kibble!
For everyday feeding, just pop the cooled kibbles into any airtight container. Storing them on the counter at room temperature is totally fine, and they should stay perfectly crunchy for about a week. If you’re batch-cooking like I usually do, toss the rest into a freezer-safe bag. They freeze beautifully, and I just grab what I need for the week. It’s so convenient. For more baking tips and storage ideas, take a peek at my Chicken Pumpkin Digestive Jerky guide!
Serving Suggestions for Homemade Crunchy Chicken Veggie Mini Kibbles
So you’ve got three cups of perfectly crunchy, homemade goodness! Now what? Well, these little nuggets are incredibly versatile, which is why I love them. They are small enough to be the ultimate high-value training reward—Buster goes absolutely bonkers for them when we do complicated recall drills.
But they aren’t just for training! If you feed a softer diet or canned food, scattering a few spoonfuls of these Homemade Crunchy Chicken Veggie Mini Kibbles on top adds fantastic texture. It turns mealtime into a fun event! They are great for mixing in little amounts with regular dry food too, kind of boosting the flavor profile of an ordinary bowl. Think of them as gourmet boosters for any meal. If you’re looking for other great training motivation, check out how I use other flavors in my Beef Blueberry Training Jerky recipe!
Frequently Asked Questions About Homemade Crunchy Chicken Veggie Mini Kibbles
I always get a ton of questions whenever I share these tiny chicken and veggie kibbles! It makes sense; we want to make sure we’re feeding our best friends perfectly safe and tasty meals. Here are a few things folks ask me all the time about getting the best batch of Homemade Crunchy Chicken Veggie Mini Kibbles.
Are these kibbles safe for my puppy to eat?
That’s a great question concerning growing pups! While the ingredients themselves are great—lean chicken and cooked veggies—I generally recommend waiting until puppies are fully weaned and a bit older before introducing something dense and crunchy like this. Their little teeth are still forming properly. If you do serve them, make sure to soak the kibbles in a little warm water or broth first so they soften up completely. Always chat with your vet if you’re introducing new things to very young dogs!
Can I use regular all-purpose white flour instead of whole wheat?
Oh, you totally *can*, but you’ll lose some of that satisfying structural integrity that holds up to the long drying process. White flour is processed more, meaning it doesn’t have the same density as whole wheat. If you use all-purpose flour, you absolutely MUST rely on that final 30-minute slow-dry in the turned-off oven. Otherwise, your kibbles might feel dry right out of the oven but soften quickly the next day. For the best crunch, stick to whole wheat, or maybe even spelt flour!
How small should the kibbles actually be cut?
When I say ‘mini,’ I really mean it! Since they don’t puff up much like bread does, the size you cut is pretty much the size they bake at. I aim for about 1/4 to 1/2 inch squares. Think about the size of a standard piece of dry kibble you might buy commercially. If you cut them larger, you’ll need significantly more baking time to get them dry enough to be crunchy, so don’t be shy with that tiny cutter! You can see how I portion out my savory Chicken Cheese Snack Jerky; it’s the same philosophy.
What if my dough is too sticky or too dry during mixing?
Don’t panic if the dough feels a little off! That’s usually just the variation in how mashed your sweet potato is or how wet your shredded chicken was. If it’s super sticky and won’t pull away from the bowl cleanly, add flour, just one teaspoon at a time, until it thickens up enough to handle. If it seems crumbly and won’t quite come together into a dough ball, add water, just one teaspoon at a time, until it binds. It should feel stiff, almost like Play-Doh, not soft like bread dough.
Estimated Nutritional Snapshot for Homemade Crunchy Chicken Veggie Mini Kibbles
So, I always want to know what’s going into Buster’s system, and while I’m not a certified nutritionist, these numbers give us a great baseline for our Homemade Crunchy Chicken Veggie Mini Kibbles. Based on everything going into the dough, a standard serving size of about 1/4 cup gives us around 180 calories, mostly coming from that lean protein and the complex carbs in the flour mix.
Remember, these are just estimates you get when you cook from scratch! The exact brand of chicken or flour you use can shift these totals a little bit. But overall, these are great, low-fat little boosts for your dog.
- Calories: Around 180 per 1/4 cup serving
- Protein: A solid 12 grams
- Fat: Kept low, around 4 grams total
- Carbohydrates: Approximately 25 grams

Homemade Crunchy Chicken Veggie Mini Kibbles
- Total Time: 70 min
- Yield: Approximately 3 cups 1x
- Diet: Low Fat
Description
Small, crunchy dog food kibbles made at home with chicken and vegetables.
Ingredients
- 1 cup cooked, shredded chicken breast
- 1/2 cup cooked sweet potato, mashed
- 1/4 cup cooked carrots, finely chopped
- 1/4 cup cooked green beans, finely chopped
- 1 cup whole wheat flour
- 1/2 cup oat flour
- 1 large egg
- 1/4 cup water
Instructions
- Preheat your oven to 350°F (175°C). Line baking sheets with parchment paper.
- In a large bowl, combine the shredded chicken, mashed sweet potato, chopped carrots, and chopped green beans. Mix well.
- In a separate bowl, whisk together the whole wheat flour and oat flour.
- Add the egg and water to the chicken and vegetable mixture. Stir until just combined.
- Gradually add the flour mixture to the wet ingredients, mixing until a stiff dough forms. You may need to use your hands.
- On a lightly floured surface, roll the dough out thinly, about 1/8 inch thick.
- Use a small cookie cutter or knife to cut the dough into tiny squares or circles (mini kibble size).
- Place the cut pieces onto the prepared baking sheets.
- Bake for 15 to 20 minutes, or until the kibbles are firm and crunchy.
- Turn off the oven and leave the kibbles inside with the door slightly ajar for another 30 minutes to dry out completely and become very crunchy.
- Allow the kibbles to cool completely before storing.
Notes
- Store cooled kibbles in an airtight container at room temperature for up to one week.
- For longer storage, freeze the kibbles.
- Adjust water amount slightly if the dough is too dry or too sticky.
- Prep Time: 20 min
- Cook Time: 50 min
- Category: Pet Food
- Method: Baking
- Cuisine: General
Nutrition
- Serving Size: 1/4 cup
- Calories: 180
- Sugar: 3
- Sodium: 55
- Fat: 4
- Saturated Fat: 1
- Unsaturated Fat: 3
- Trans Fat: 0
- Carbohydrates: 25
- Fiber: 3
- Protein: 12
- Cholesterol: 40
Keywords: dog food, homemade kibble, chicken, vegetables, crunchy pet treat