
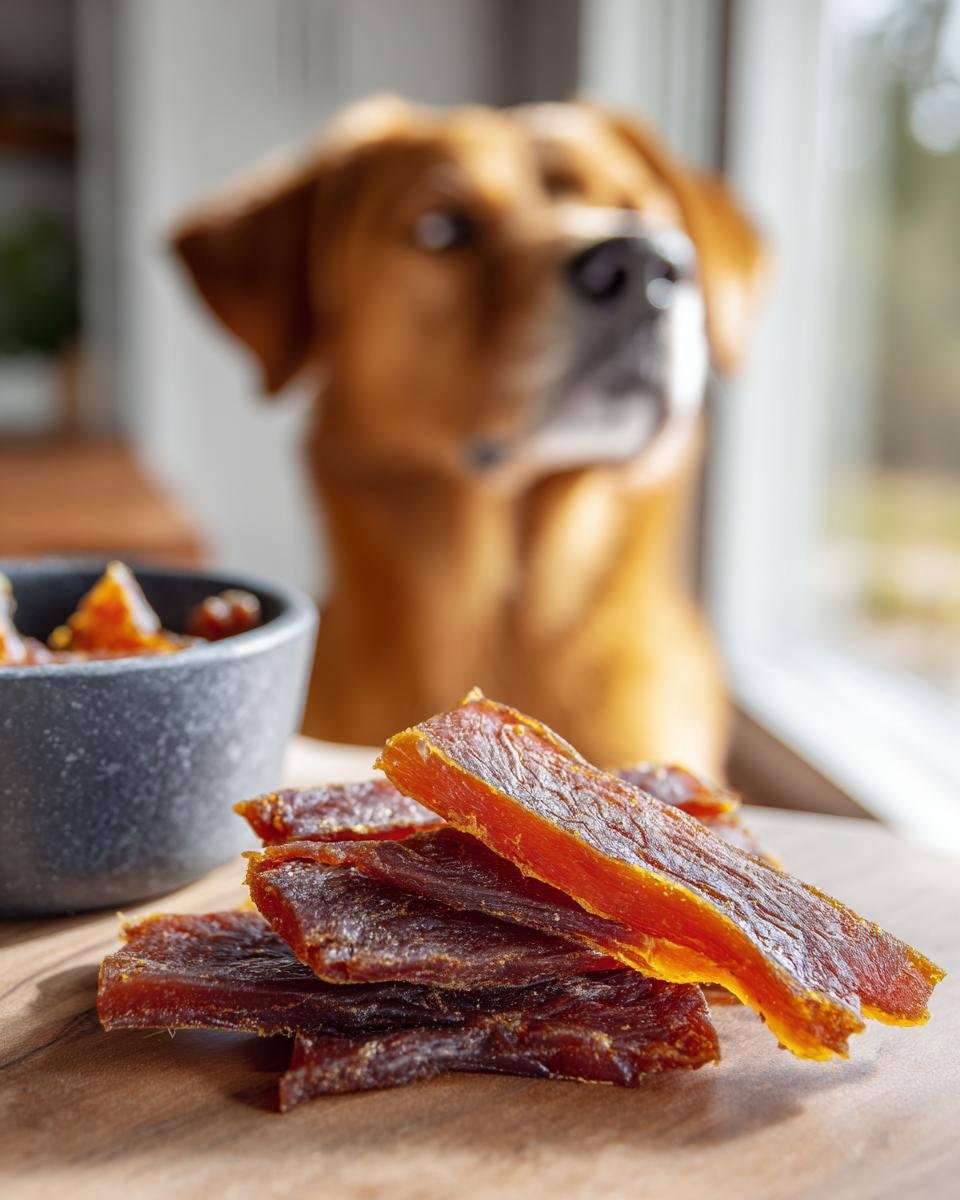
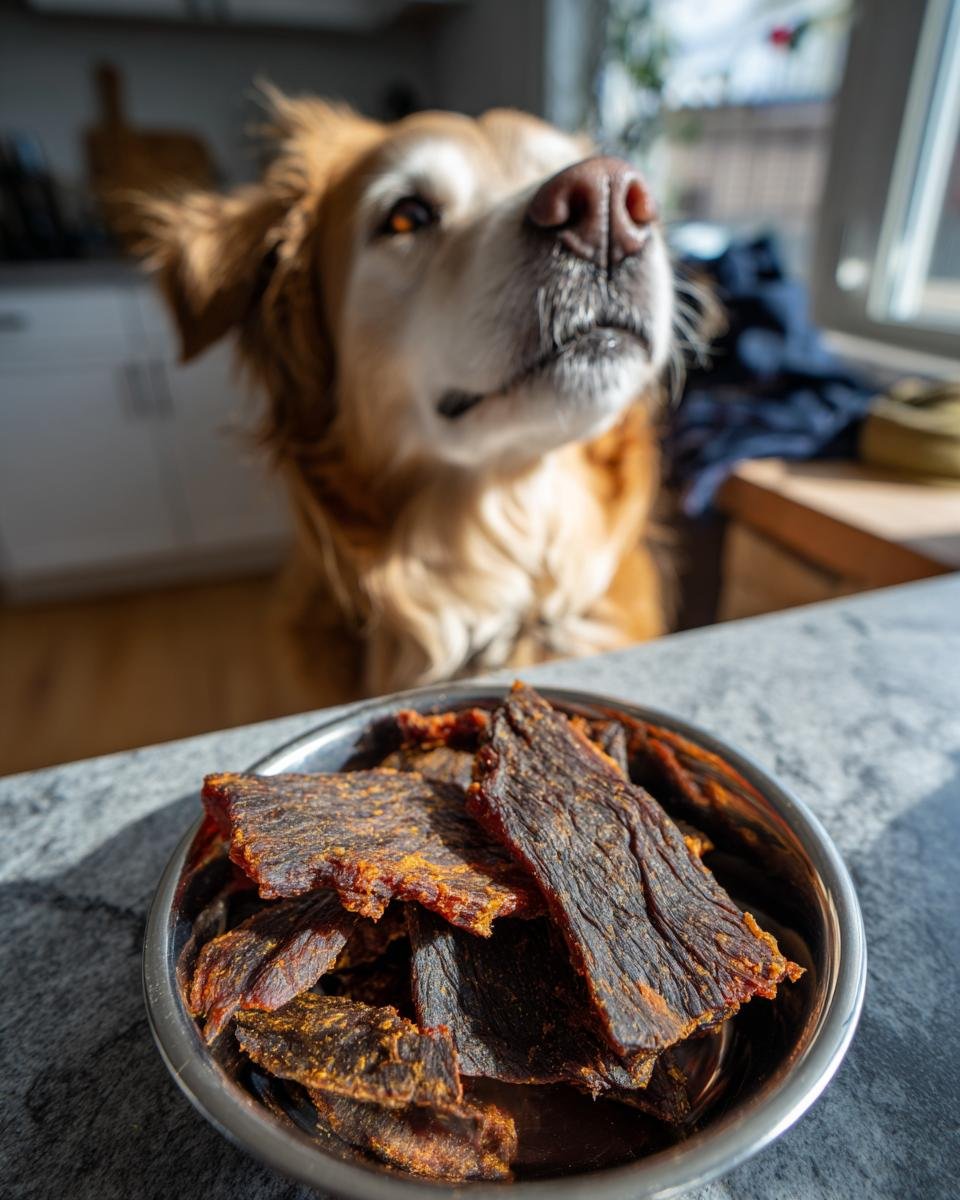
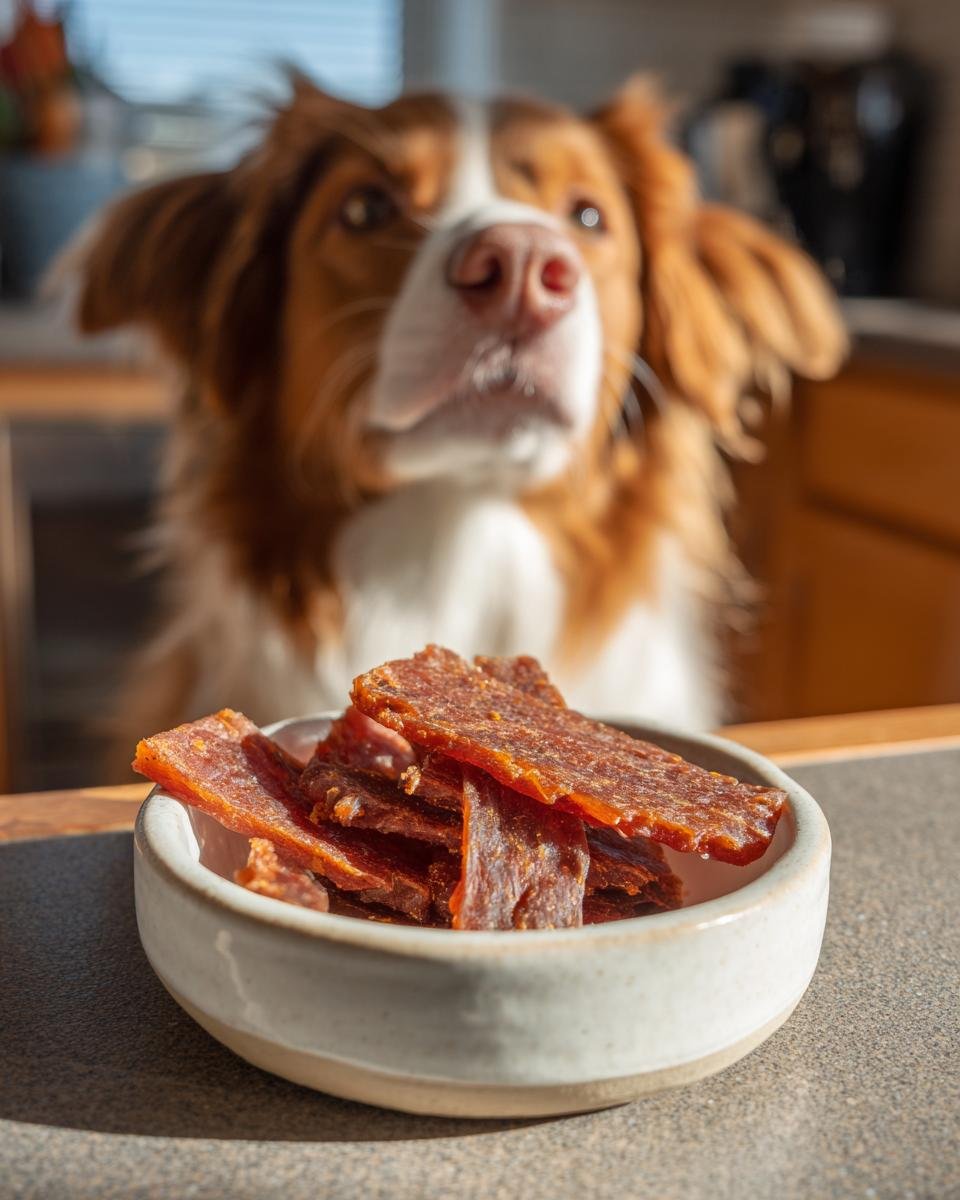
Oh, homemade jerky! It’s such a game-changer, isn’t it? Making your own jerky means you know exactly what’s going into it – no weird preservatives or tons of sugar you don’t need. I’ve been playing around with jerky recipes for years, always looking for that perfect balance of flavor and goodness. This Turkey Ginger Immunity Jerky is honestly one of my absolute favorites. It’s savory, a little spicy from the ginger, and just packed with good stuff that makes you feel great. Trust me, once you try making this, you’ll wonder why you ever bought the store-bought stuff!
Why You’ll Love This Turkey Ginger Immunity Jerky
Seriously, this jerky is a winner! Here’s why:
- It’s super easy to whip up, even if you’re new to making jerky.
- The flavor combo of turkey, ginger, and soy is just irresistible!
- Packed with protein to keep you fueled up.
- Ginger gives it that awesome “immunity boost” vibe. Plus, it just tastes amazing.
- You control exactly what goes in – no mystery ingredients here!
- It’s a low-fat snack that actually tastes exciting.

Gather Your Ingredients for Turkey Ginger Immunity Jerky
Alright, let’s get our supplies ready for this fantastic Turkey Ginger Immunity Jerky! It’s pretty simple, which I love. You’ll need:
- 1 pound ground turkey: I like using lean ground turkey, but you can use whatever you have.
- 2 tablespoons soy sauce: This adds that classic savory, umami punch.
- 1 tablespoon honey: Just a touch for sweetness and to help it get that nice texture.
- 1 tablespoon grated fresh ginger: This is the star for our immunity boost *and* flavor! Make sure it’s fresh; it really makes a difference.
- 1 teaspoon garlic powder: Because garlic makes everything better, right?
- 1/2 teaspoon onion powder: Adds another layer of savory goodness.
- 1/4 teaspoon black pepper: Just a little kick.
- 1/4 teaspoon red pepper flakes (optional): If you like it a bit spicier, add these in!
See? Nothing too complicated. Just good stuff you can probably find right in your pantry.
Essential Equipment for Making Turkey Ginger Immunity Jerky
So, to make this amazing Turkey Ginger Immunity Jerky, you don’t need a fancy dehydrator or anything! Just a few common kitchen things:
- A baking sheet (a standard half-sheet size works great)
- Parchment paper – this is key so your jerky doesn’t stick!
- A medium mixing bowl
- A way to grate your ginger – a box grater or a microplane is perfect.
- A spoon or spatula for mixing and spreading.
That’s it! Easy peasy.
Step-by-Step Guide to Perfect Turkey Ginger Immunity Jerky
Alright, let’s get this done! Making your own Turkey Ginger Immunity Jerky is honestly way simpler than you might think. Just follow these steps and you’ll have amazing, healthy snacks in no time.
Preheating and Preparation
First things first, get that oven preheating! We want a nice low and slow temperature, so set it to 170°F (77°C). While it’s heating up, grab your baking sheet and line it completely with parchment paper. Trust me, this is your best friend for easy cleanup and making sure your jerky lifts right off!
Mixing the Turkey Jerky Base
Now for the fun part – mixing all those yummy ingredients! In a medium bowl, plop in your ground turkey. Then, add the soy sauce, honey, that wonderful grated fresh ginger, garlic powder, onion powder, black pepper, and those optional red pepper flakes if you’re feeling brave. Get your hands in there (or use a sturdy spoon!) and really mix it all together until everything is super well combined. You want it to look like one cohesive mixture, not just a bunch of separate things.
Spreading and Baking Your Turkey Ginger Immunity Jerky
Okay, this is where it starts looking like real jerky! Take your well-mixed turkey mixture and spread it out thinly and evenly all over that parchment-lined baking sheet. I aim for about 1/8 inch thick. You can use a spatula or even the back of a spoon for this. The thinner you spread it, the crispier your jerky will be. Now, pop it into your preheated oven. We’re going to bake this for about 4 to 6 hours. The exact time really depends on how thick you spread it and how your oven behaves, so keep an eye on it. You’re looking for it to be dry and firm to the touch.
Cooling and Finishing Touches
Once your Turkey Ginger Immunity Jerky looks and feels perfectly dried out, carefully take the baking sheet out of the oven. Let it cool *completely* right there on the baking sheet. This is important because it finishes drying it out a bit more. After it’s totally cool, you can just break it into pieces with your hands or use a knife or pizza cutter to slice it into whatever size pieces you like best. I usually break mine into bite-sized bits, perfect for snacking!
Ingredient Notes and Substitutions for Turkey Jerky
So, let’s chat about these ingredients for our Turkey Ginger Immunity Jerky! The fresh ginger is really the star here, giving it that zesty kick and amazing health boost. Don’t skimp on it! If you’re not feeling the ginger or can’t find fresh, a good quality ginger powder can work in a pinch, but I’d use a bit less, maybe like a teaspoon, and taste as you go. Red pepper flakes are totally optional, so adjust them to how much heat you like. If you’re sensitive to spice, just leave them out completely. This recipe is really forgiving! And for the meat, while ground turkey is fantastic because it’s lean, you could totally try this with ground chicken or even lean ground beef. Just make sure it’s lean, okay? We don’t want too much fat getting in the way of that perfect jerky texture.
Tips for Making the Best Turkey Ginger Immunity Jerky
Alright, I’ve made a LOT of jerky in my day, and I’ve learned a few tricks to make this Turkey Ginger Immunity Jerky absolutely perfect every single time. First off, oven temp is key! Make sure your oven is *really* at 170°F (77°C). Some ovens run hotter or cooler, so it’s worth using an oven thermometer if you have one. This low temp is crucial for drying it out without cooking it too much. Also, remember that thinner is often better for that satisfying chewy texture. I love spreading it super thin, like whisper thin! If you want it crispier, just leave it in a little longer. And my biggest tip? Don’t rush the cooling process; letting it cool completely on the sheet helps it firm up just right; also, remember to check out how to get that perfect texture. These little things make a world of difference for your Turkey Ginger Immunity Jerky!
Storing and Reheating Your Homemade Turkey Jerky
Alright, you’ve made this incredible Turkey Ginger Immunity Jerky, and now you want to keep it tasting amazing, right? It’s pretty easy! For the best freshness, store your cooled jerky in an airtight container. If you’re going to eat it within a week or so, keeping it at room temperature is usually fine. But if you want it to last longer, or if your kitchen is on the warmer side, pop that container into the refrigerator. It’ll keep beautifully for a few weeks in there, taste-wise! I haven’t really found a need to reheat it since it’s meant to be enjoyed as is, but if yours dries out a bit too much and you want it softer, a few minutes in a very low oven might help, but honestly, it’s best eaten as is!
Frequently Asked Questions about Turkey Ginger Immunity Jerky
Got questions about whipping up this amazing Turkey Ginger Immunity Jerky? I get it! Homemade jerky can seem tricky, but it’s really not. Let’s clear up a few things. If you have even more questions, don’t hesitate to reach out to us!
Can I use a different type of meat for this jerky?
Absolutely! While this *Turkey* Ginger Immunity Jerky is fantastic, you can totally use lean ground chicken or even lean ground beef. Just make sure it’s lean to get that perfect, non-greasy jerky texture we’re going for.
How do I know when my jerky is done?
This is the big one! You’re looking for it to be dry and firm to the touch. It shouldn’t feel sticky or wet at all. If you bend a piece, it should crack slightly but still have some pliability, or be completely brittle if you baked it longer. Just make sure it’s not raw!
Can I make this jerky spicier or less spicy?
Oh yes, you can totally play with the spice level! The red pepper flakes are optional. If you love heat, feel free to add a bit more – maybe half a teaspoon or even a full teaspoon if you’re brave! If you prefer it mild, just skip the red pepper flakes altogether. Easy peasy!
Nutritional Information for Turkey Ginger Immunity Jerky
Just a heads-up, the nutritional info for homemade goodies like this Turkey Ginger Immunity Jerky is always an estimate, since ovens can be a bit unpredictable and brands of ingredients vary. But based on my recipe, a standard 1-ounce serving usually clocks in around 90 calories, with about 2g of fat and a whopping 14g of protein! You’ll also find a little bit of carbs (around 4g) and very little sugar. It’s a seriously satisfying and healthier snack option!
Share Your Turkey Ginger Immunity Jerky Creations!
I just love hearing about your kitchen adventures! Have you tried making this Turkey Ginger Immunity Jerky? I’d be absolutely thrilled if you gave it a try and shared your experience. Drop a comment below, tell me what you thought, or even give it a star rating here. Seeing your creations makes my day!
Print
Turkey Ginger Immunity Jerky
- Total Time: 6 hours 15 min
- Yield: Approx. 1/2 pound
- Diet: Low Fat
Description
A savory and spicy turkey jerky recipe with ginger, designed to support your immune system.
Ingredients
- 1 pound ground turkey
- 2 tablespoons soy sauce
- 1 tablespoon honey
- 1 tablespoon grated fresh ginger
- 1 teaspoon garlic powder
- 1/2 teaspoon onion powder
- 1/4 teaspoon black pepper
- 1/4 teaspoon red pepper flakes (optional)
Instructions
- Preheat your oven to 170°F (77°C). Line a baking sheet with parchment paper.
- In a medium bowl, combine the ground turkey, soy sauce, honey, grated ginger, garlic powder, onion powder, black pepper, and red pepper flakes (if using). Mix well until all ingredients are evenly distributed.
- Spread the turkey mixture thinly and evenly onto the prepared baking sheet. Aim for a thickness of about 1/8 inch.
- Bake for 4-6 hours, or until the jerky is dry and firm. The exact time will depend on the thickness of your jerky and your oven.
- Once baked, remove the jerky from the oven and let it cool completely on the baking sheet.
- Break or cut the jerky into desired pieces. Store in an airtight container at room temperature for up to 2 weeks, or refrigerate for longer storage.
Notes
- For a chewier jerky, bake for a shorter time. For a crispier jerky, bake for longer.
- You can adjust the amount of ginger and red pepper flakes to your preference.
- Ensure the jerky is completely dry before storing to prevent mold.
- Prep Time: 15 min
- Cook Time: 4-6 hours
- Category: Snack
- Method: Baking
- Cuisine: American
Nutrition
- Serving Size: 1 ounce
- Calories: 90
- Sugar: 3g
- Sodium: 300mg
- Fat: 2g
- Saturated Fat: 1g
- Unsaturated Fat: 1g
- Trans Fat: 0g
- Carbohydrates: 4g
- Fiber: 0g
- Protein: 14g
- Cholesterol: 50mg
Keywords: turkey jerky, ginger jerky, immunity jerky, healthy snack, homemade jerky, protein snack, low fat jerky